Self-service SAML and SCIM configuration
Self-service SAML and SCIM configuration
Have your customers configure their SAML and SCIM settings with a self-serve UI, without you writing any code
SSOReady can host on your behalf a self-serve UI that lets your customers enable SAML and SCIM. SAML and SCIM both require ahead-of-time configuration to work, and getting those settings to work is a tricky and vendor-specific process.
SSOReady lets you generate self-serve setup links which you give to your customer. These are short-lived, one-time links that let your users manage the SAML connections and/or SCIM directories of their organization. You can generate these links from the SSOReady webapp or programmatically.
Motivation
Every time one of your enterprise customers wants to enable SAML or SCIM, both you and your customer need to exchange a set of settings before attempting to use the SAML or SCIM protocol. This is an inherent property of how SAML and SCIM work.
For example, SAML requires that you give your customers two settings:
And then your customer needs to give you three settings:
- A SAML IDP (“Identity Provider”) Entity ID
- A SAML Redirect URL
- A SAML IDP Certificate
(SCIM is a bit simpler; you just need to give your customer a SCIM Base URL and a SCIM bearer token. They don’t need to give you anything. But the challenge is that the bearer token is a sensitive secret, and so you need to give them the bearer token over a secure channel.)
In practice, exchanging these settings is a bit of a headache:
- Many customers’ IT admins don’t know how to use their Identity Provider to give you these settings, so you’ll have to walk them through the process.
- Every Identity Provider vendor uses different terminology for these settings. The SAML ACS URL is called a “Reply URL” in Microsoft Entra, a “Single Sign-on URL” in Okta, and an “ACS URL” in Google.
- Identity Providers do the steps in a different order; Google gives your customer the IDP Entity ID, Redirect URL, and IDP Certificate first, and then asks for the ACS URL and SP Entity ID. Entra and Okta do it the order way around.
- The IDP Certificate in particular is difficult. It’s an X.509 certificate. There are many ways it can be formatted.
These issues are not insurmountable. Plenty of companies just deal with the emails/meetings to get this sorted out, looping in engineers as required. Usually, the long-term value of enterprise deals makes this worth it.
But with self-serve setup links, this issue goes away entirely. You’ll be giving your customer a best-in-class SAML/SCIM onboarding experience. Without any engineering work at all.
How it works
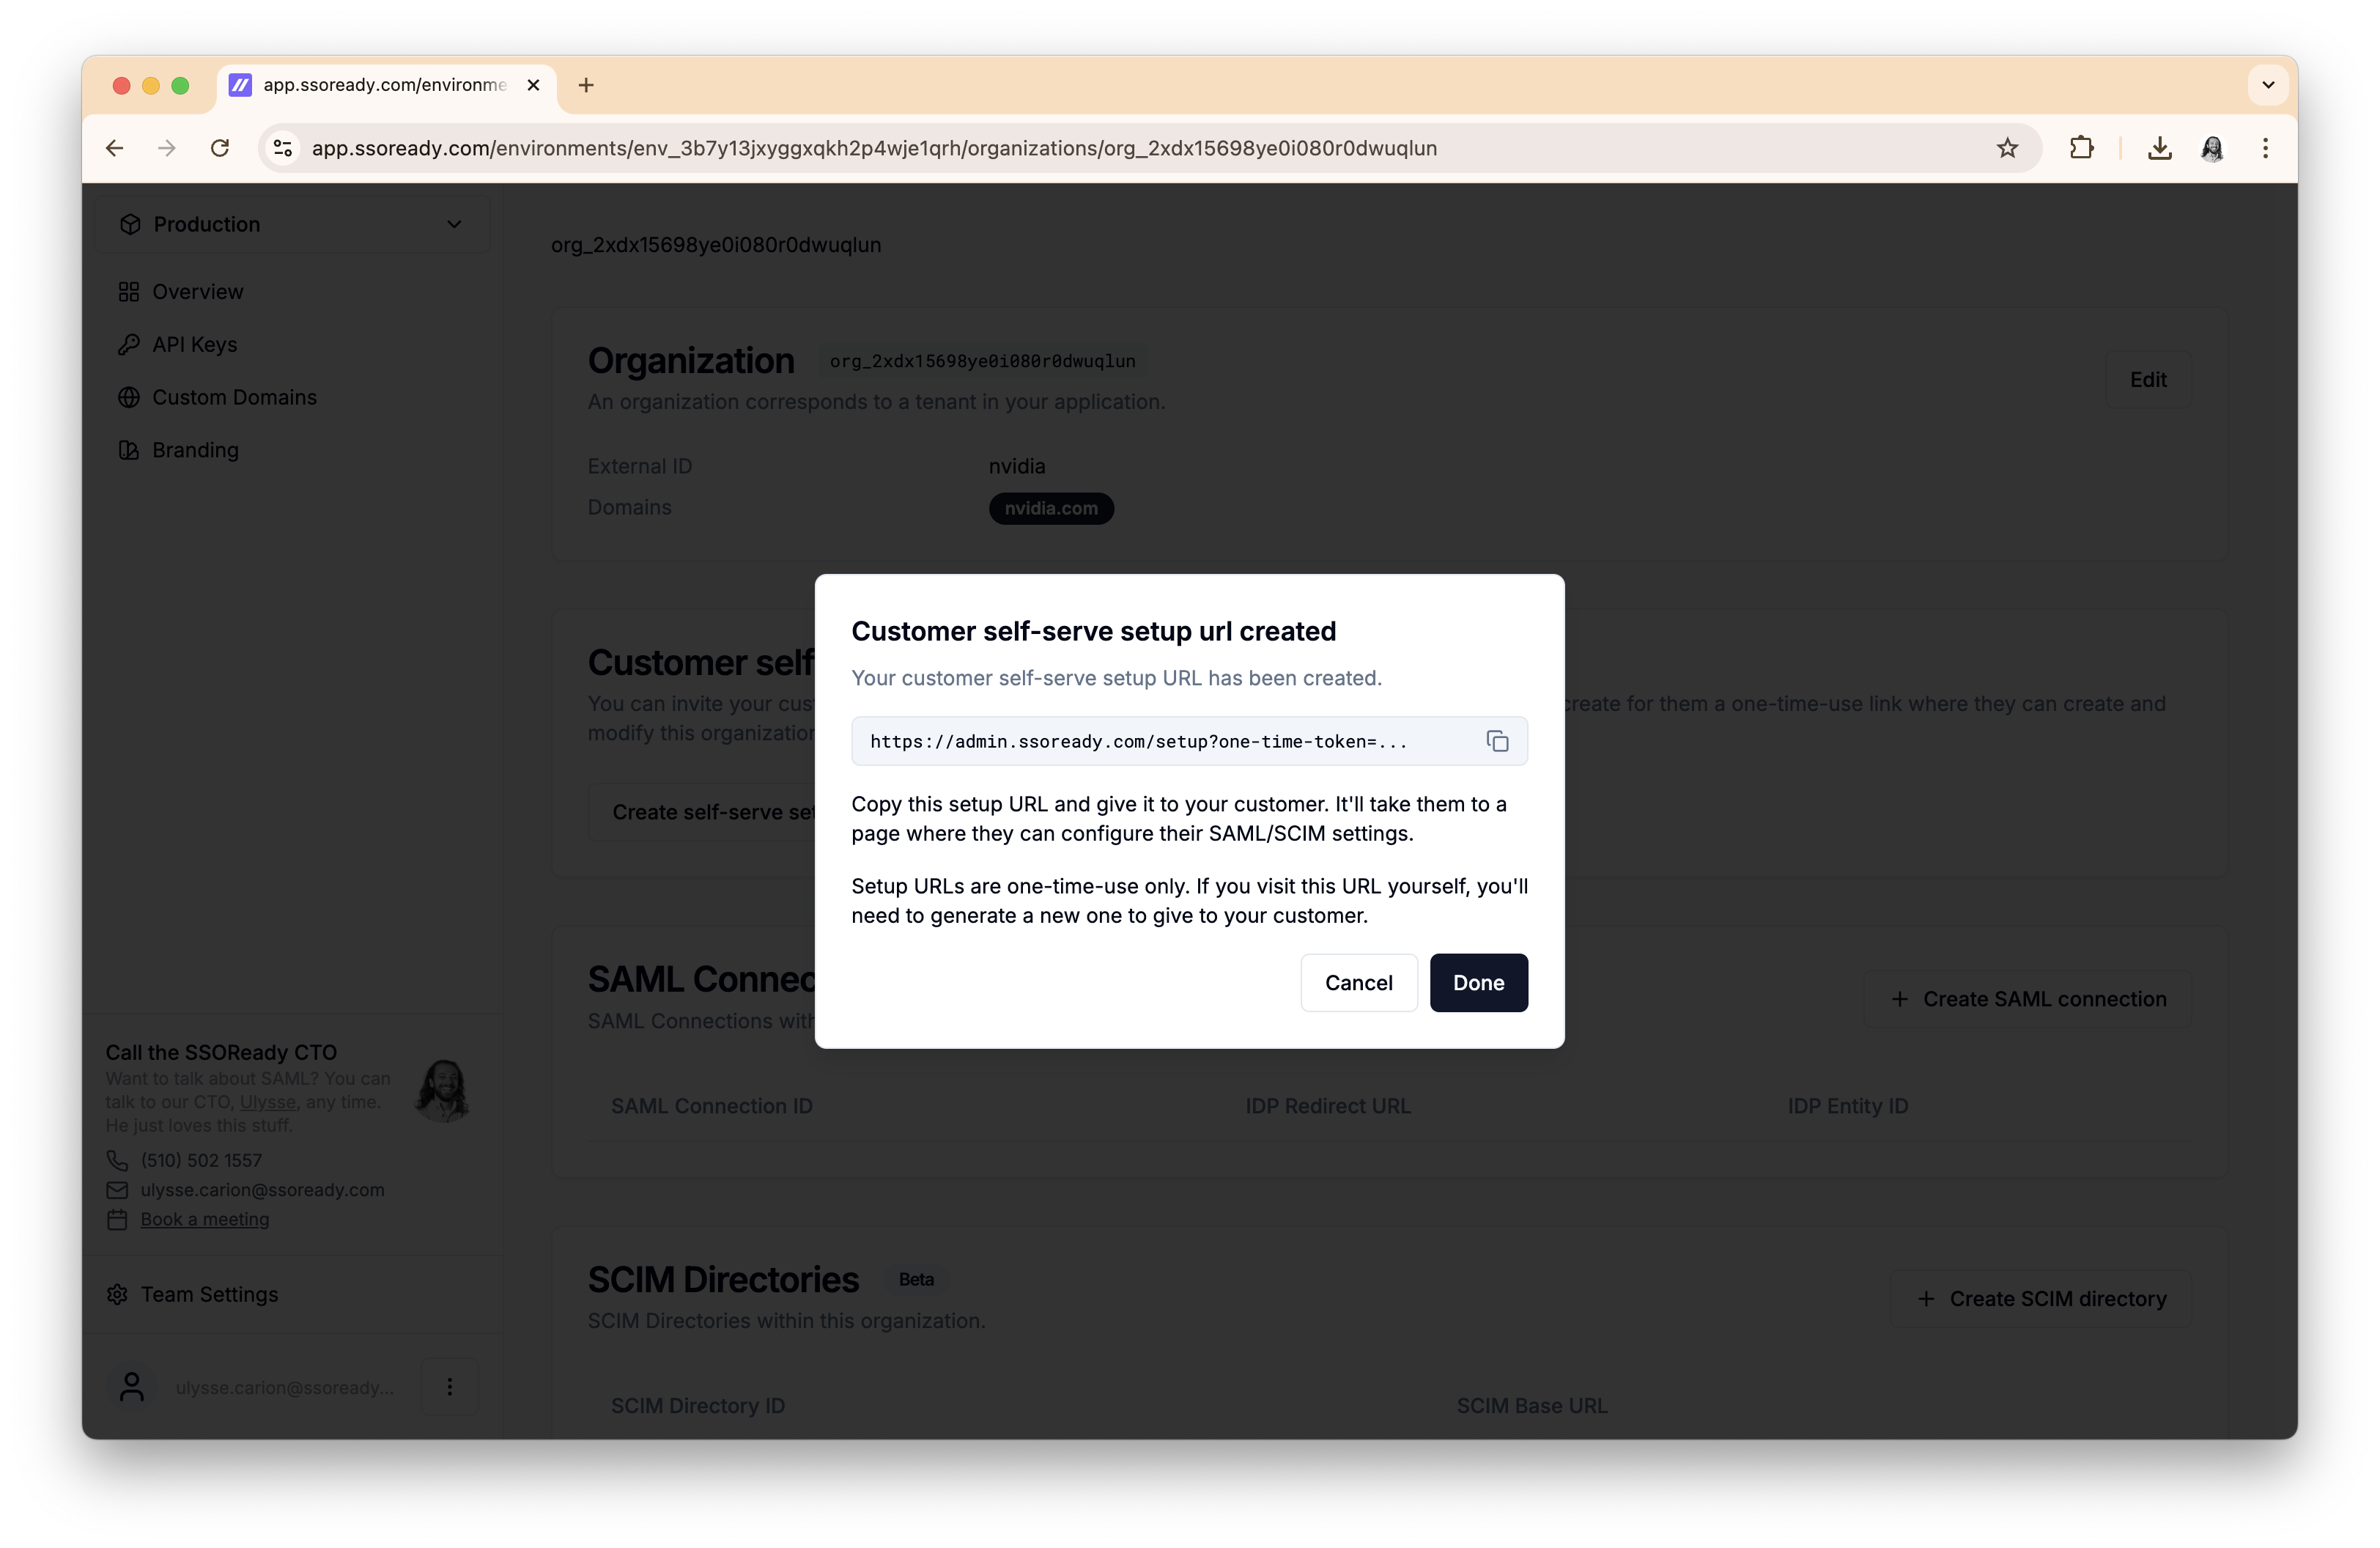
On any organization, you can create a self-serve setup link. You choose whether your customer will be able to use the link to configure SAML, SCIM, or both. You give that link to your customer.
Self-serve setup links are one-time-use only, and are valid for 24 hours. They’re meant to be safe to give to your customer over email, Slack, Zoom chat, or any other private channel you use to talk to your customer.
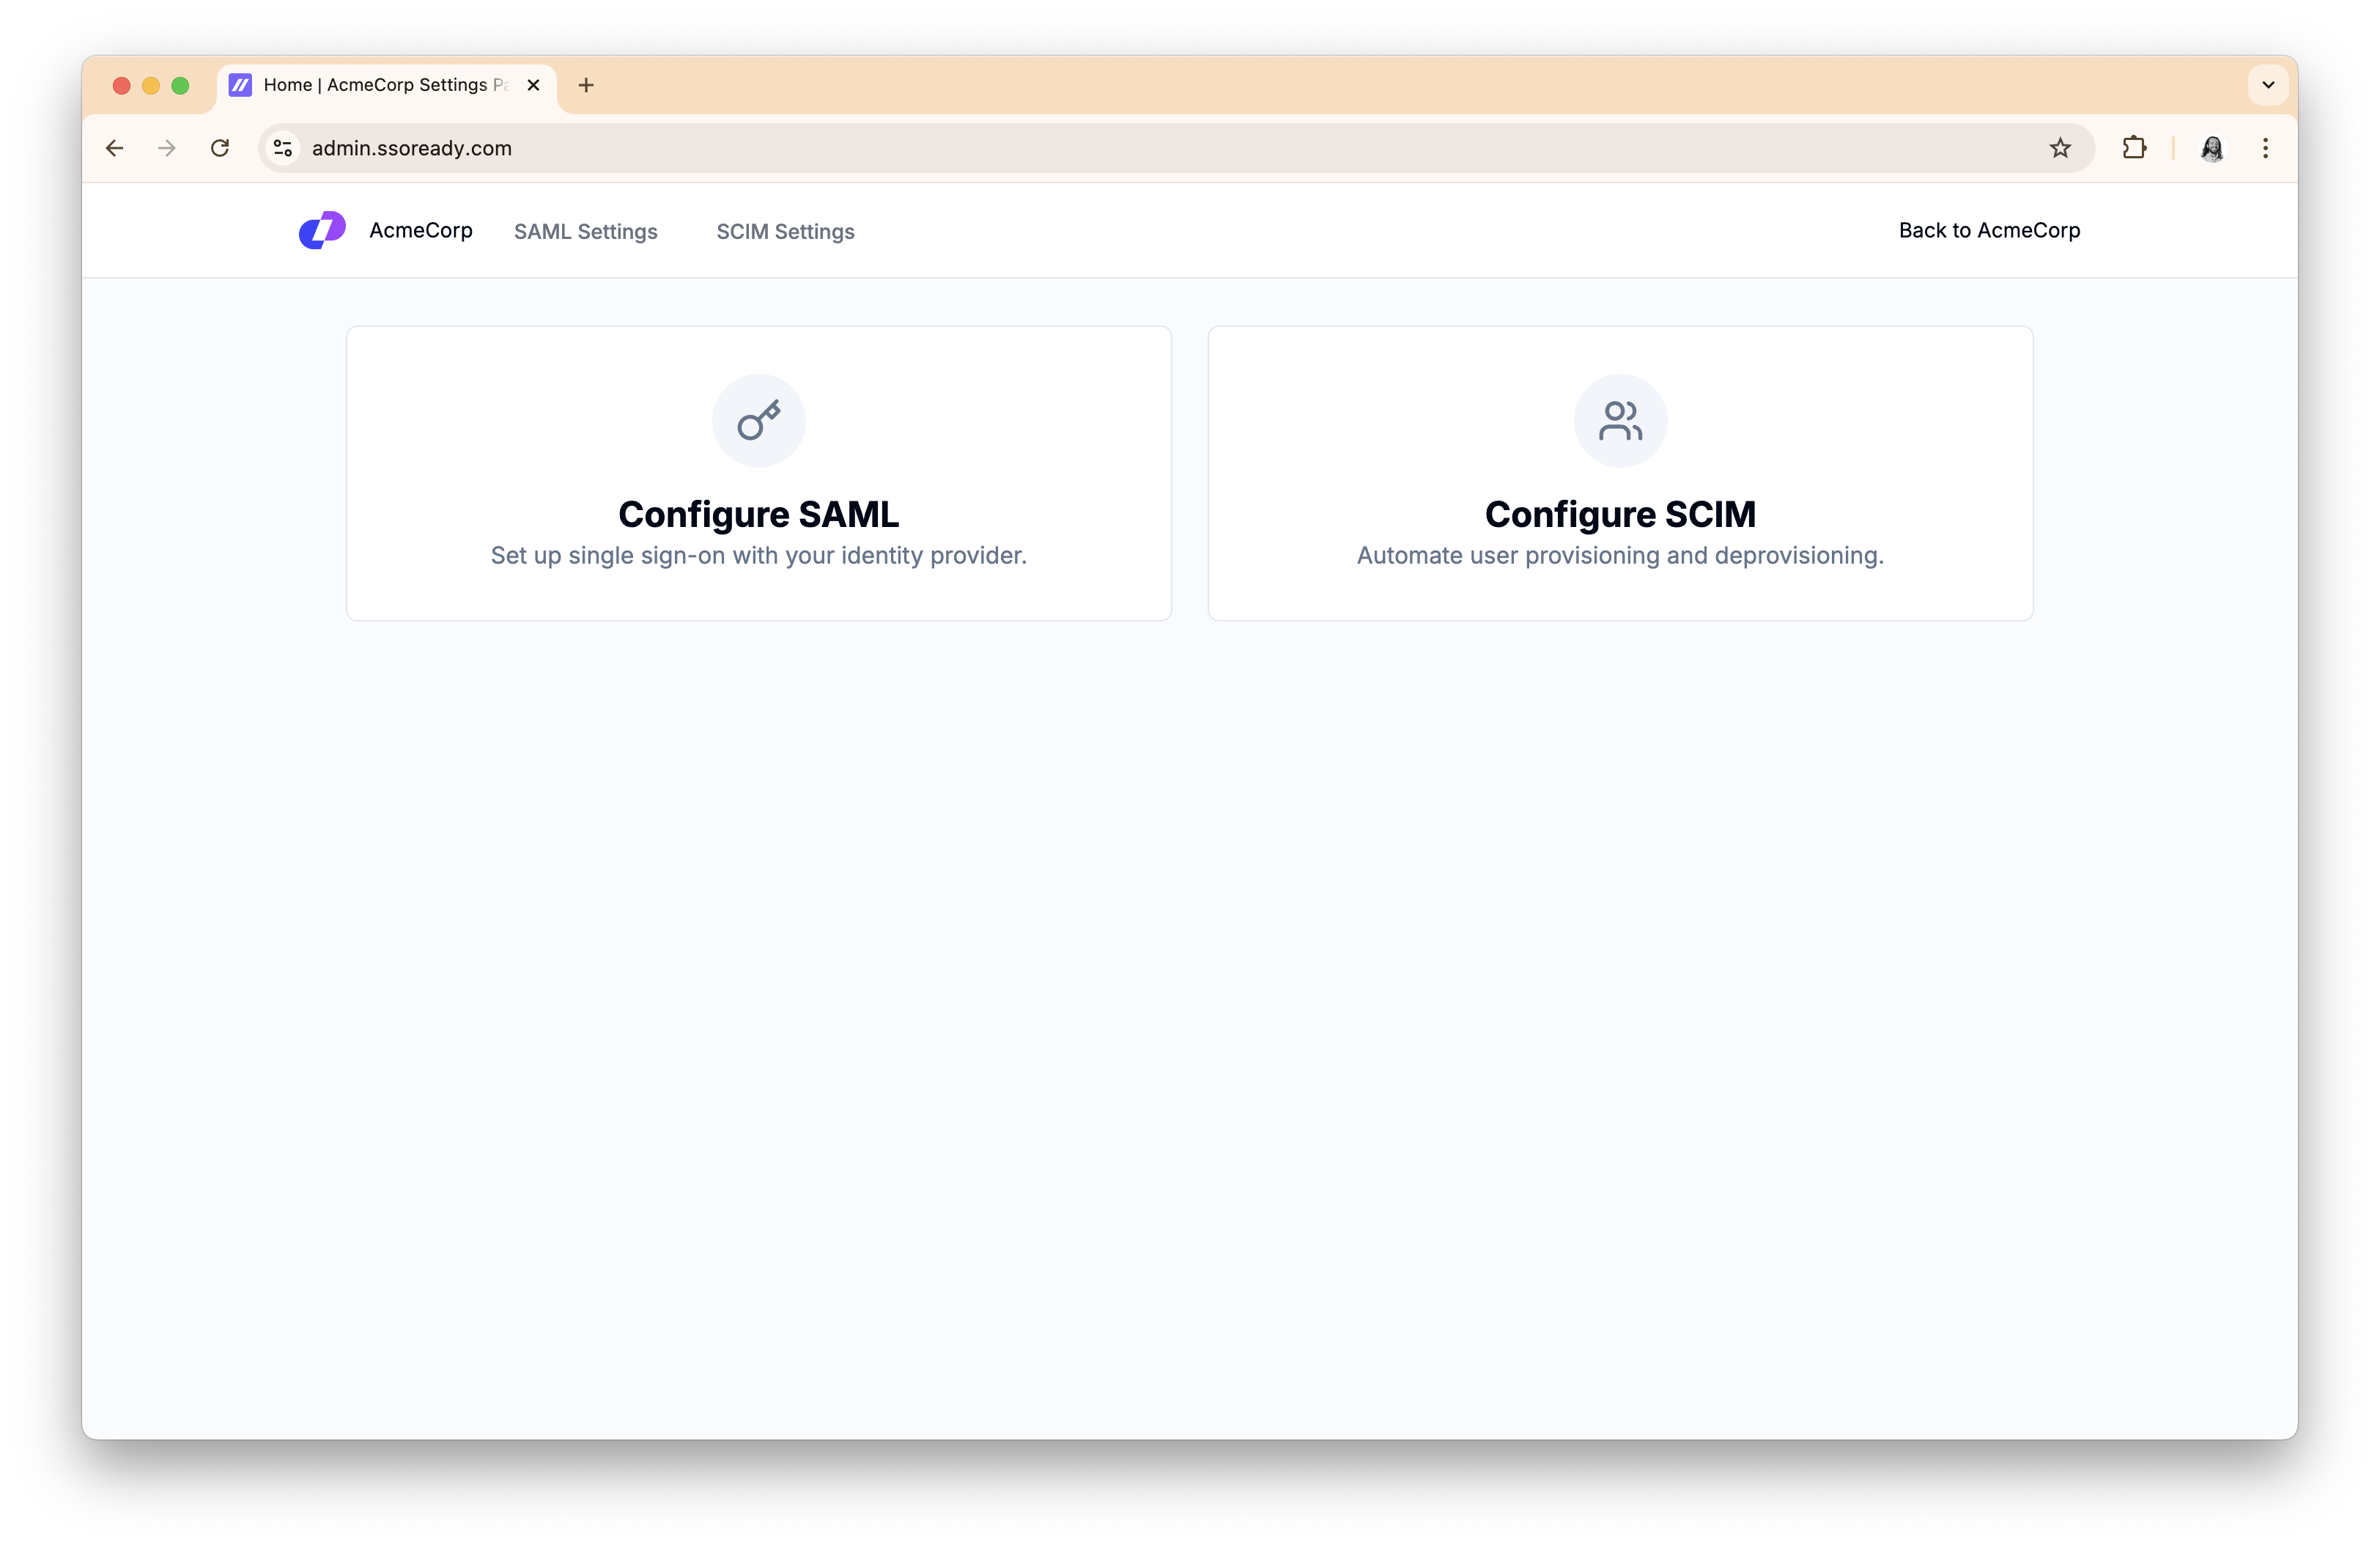
When your customer visits the link, they’ll be shown a UI where they can configure SAML and/or SCIM (depending on what you decided when creating the link).
When setting up SAML, the first thing we’ll ask your customer is which Identity Provider they use. That lets us give your customer instructions specific to their Identity Provider.
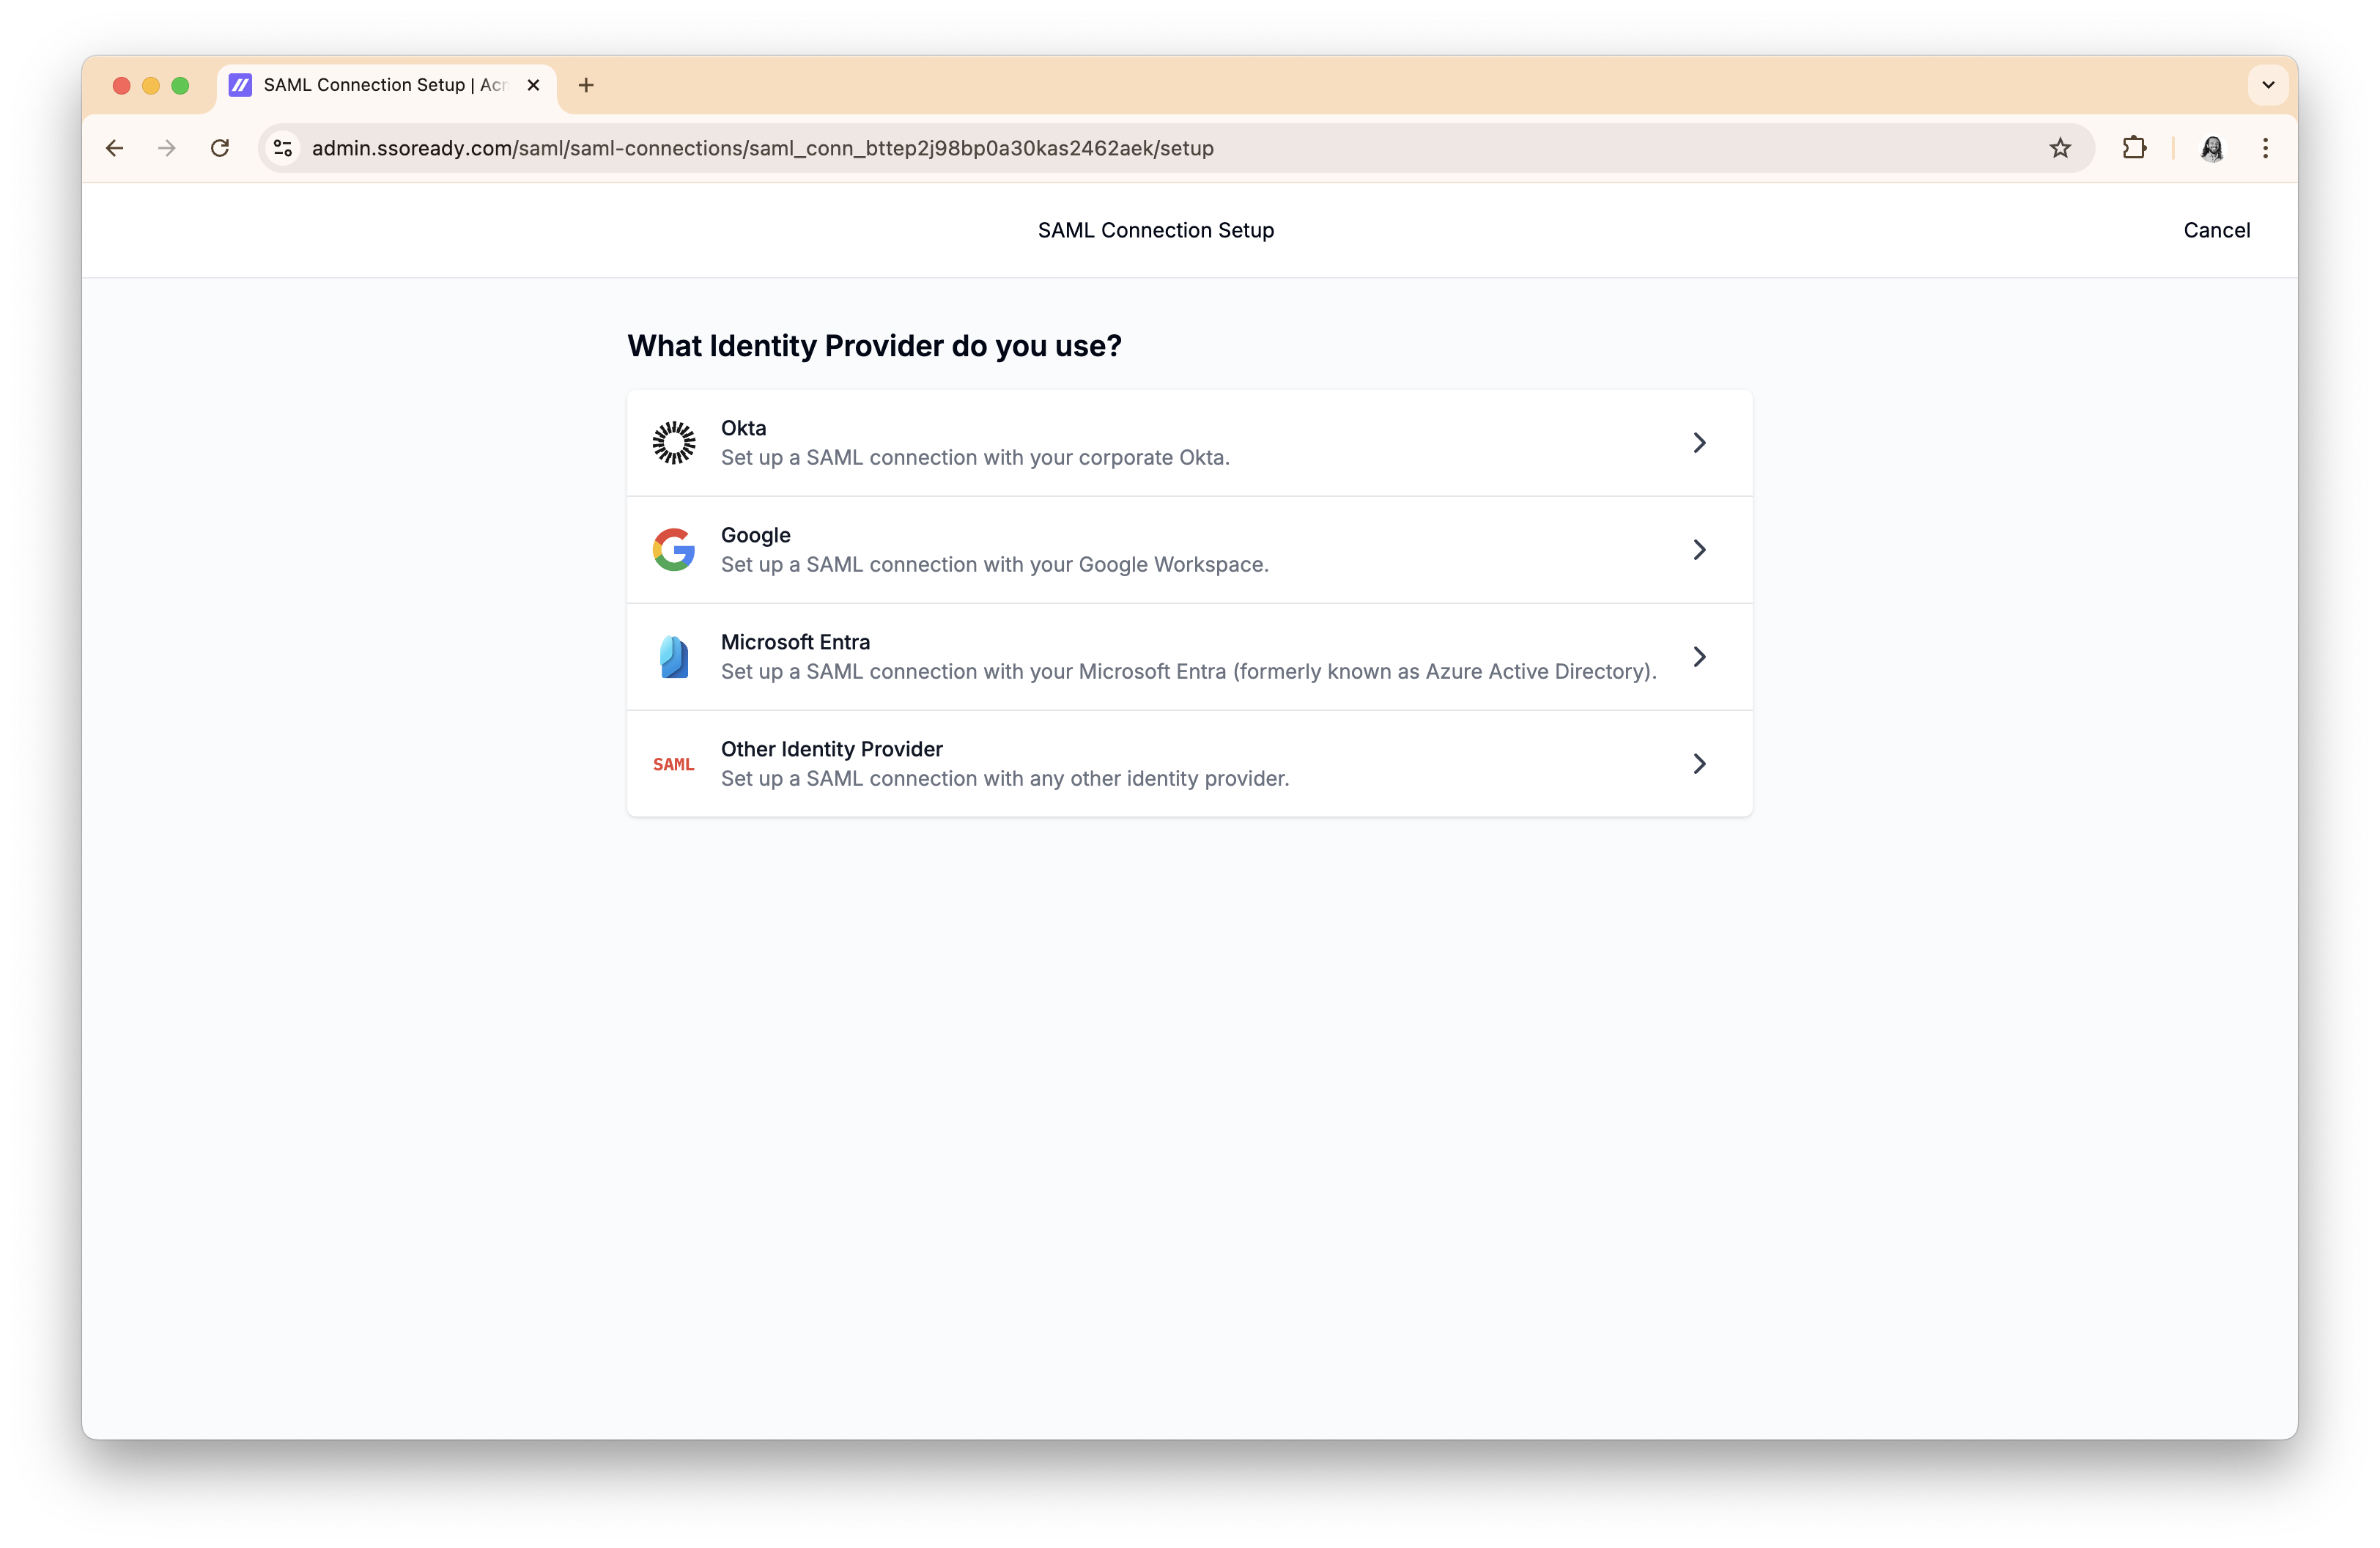
We break down the SAML setup process into quick steps, ordered based on what’s most natural for their Identity Provider. Every step has both written instructions and animated videos showing them what they need to do, and they can quickly copy-paste settings into their Identity Provider.
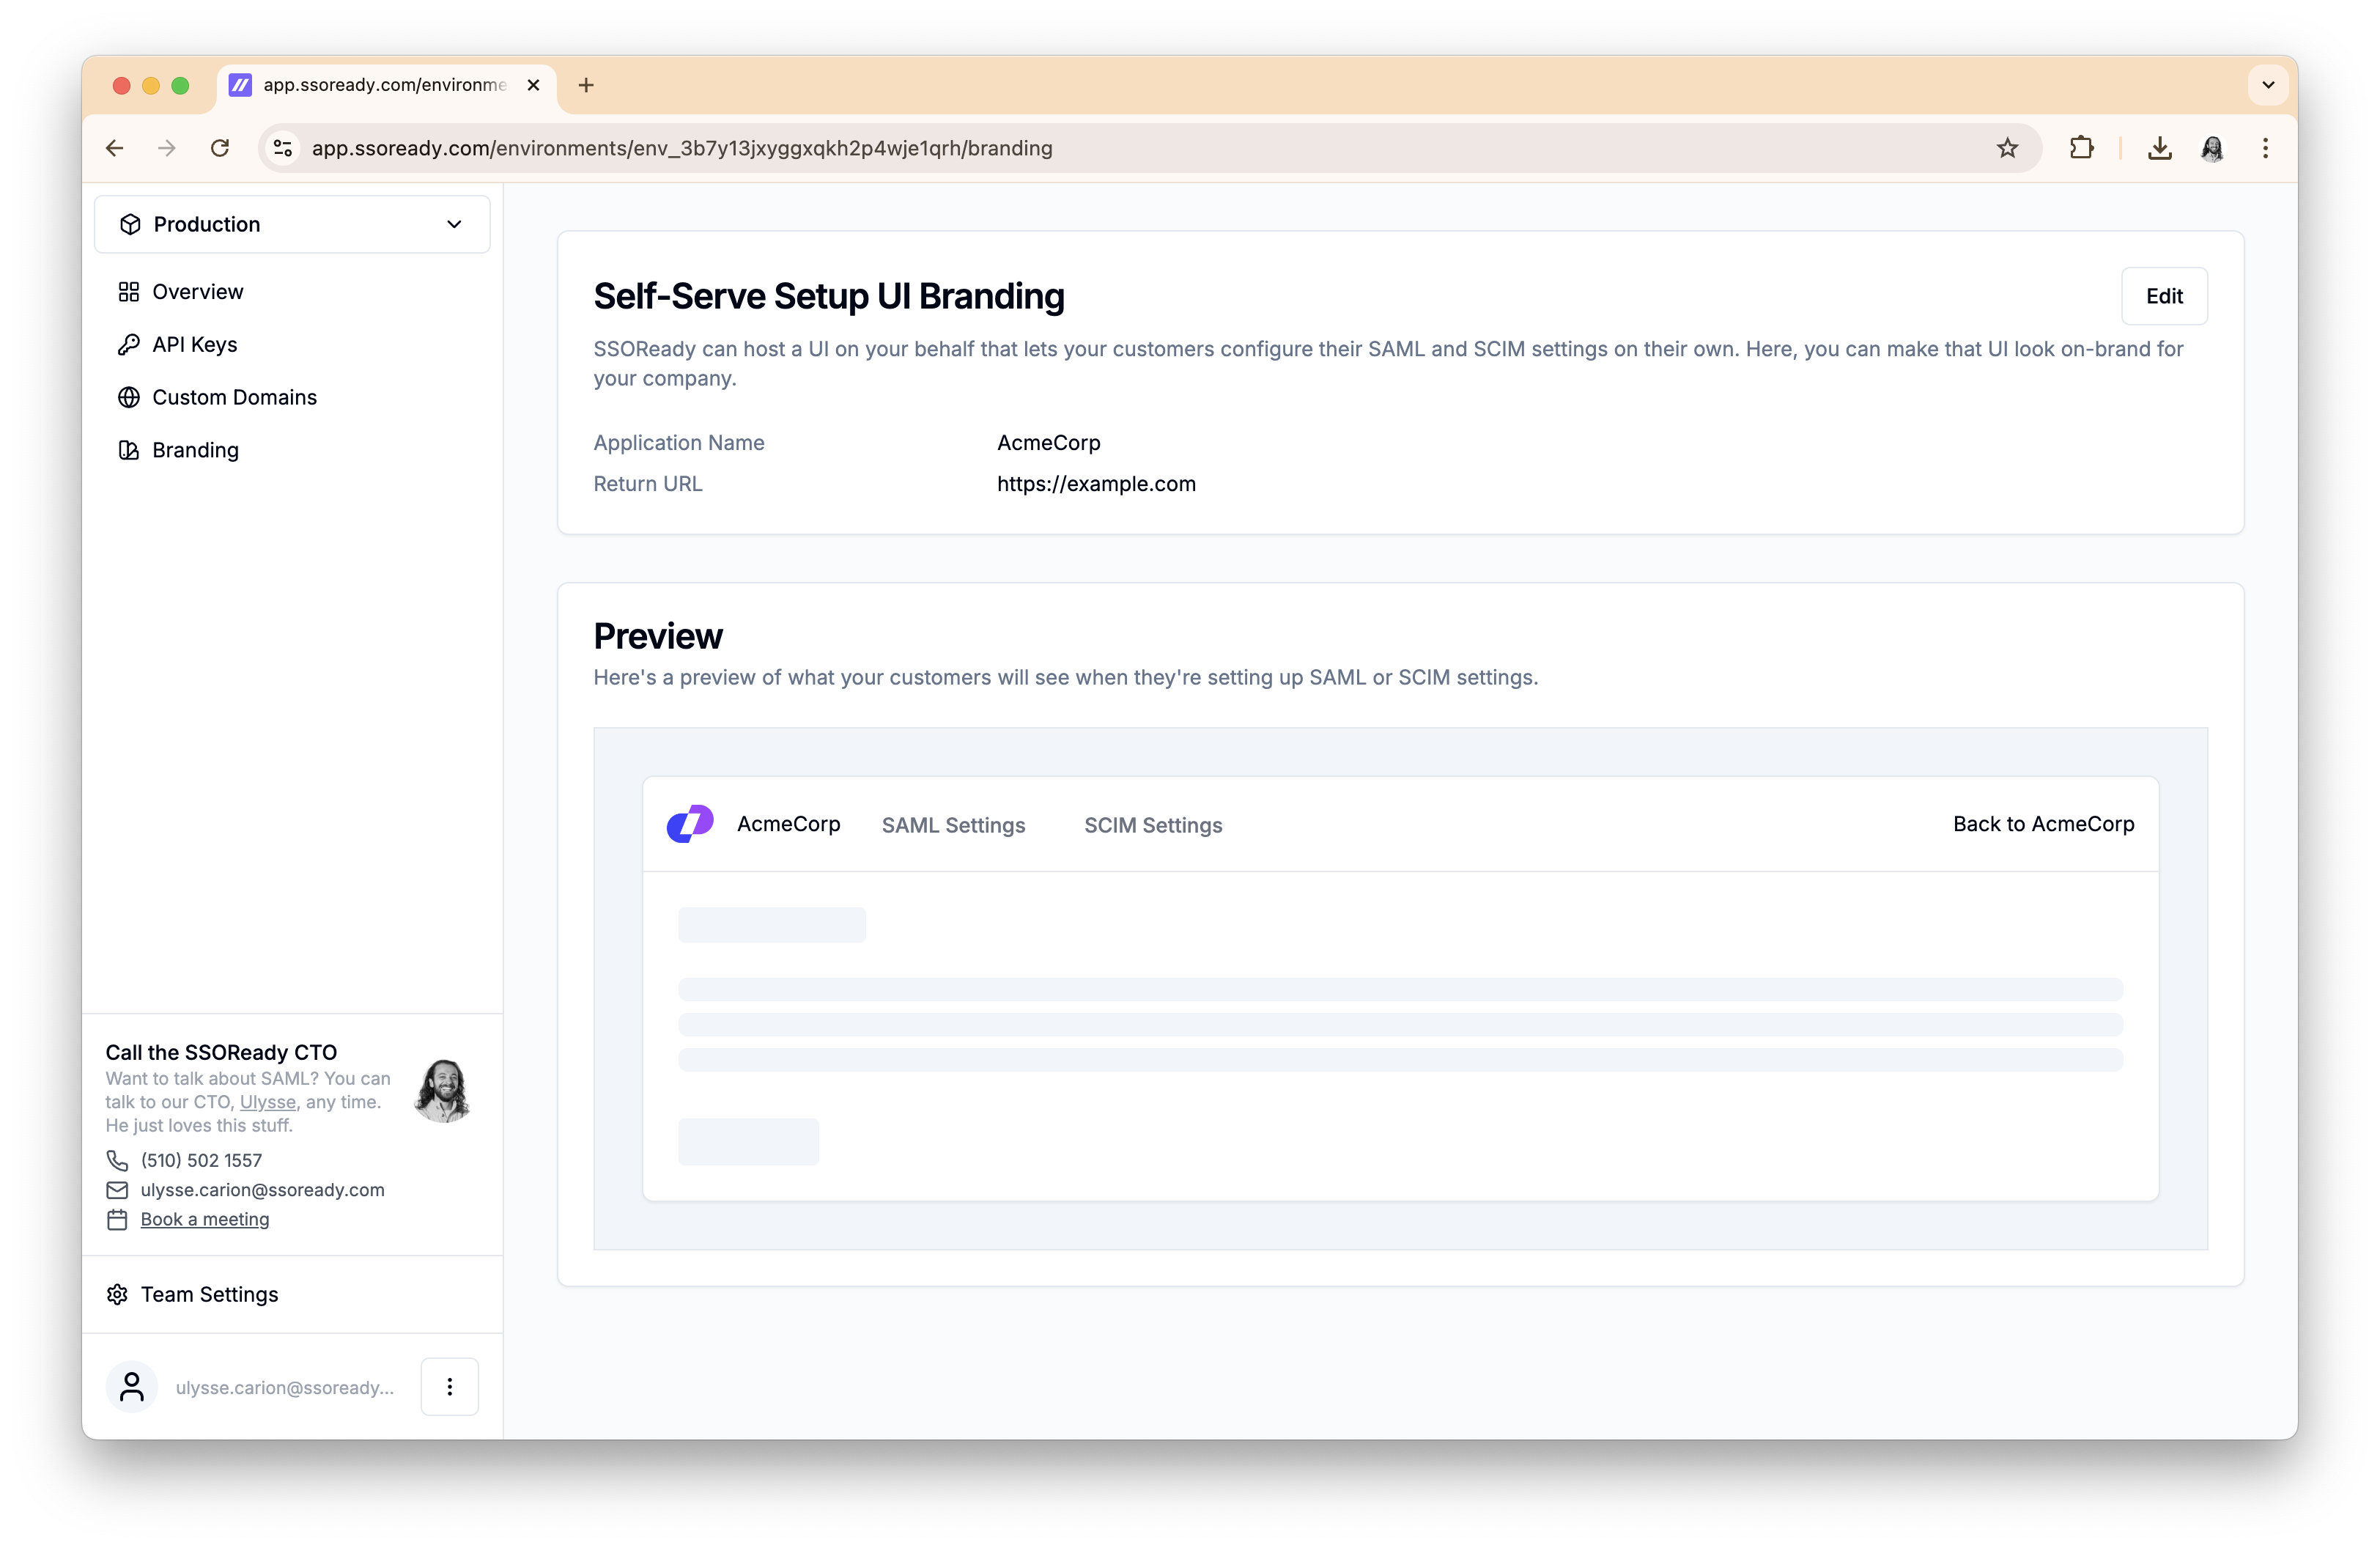
Custom Branding and Domains
To keep the setup experience intuitive and on-brand for your customer, you can configure:
- Your company’s logo, which appears in the navigation bar
- Your company’s name, which appears anywhere the experience needs to refer to your product by name
- A “return URL”, which is where the “Back to [your-company-name]” link takes your customer
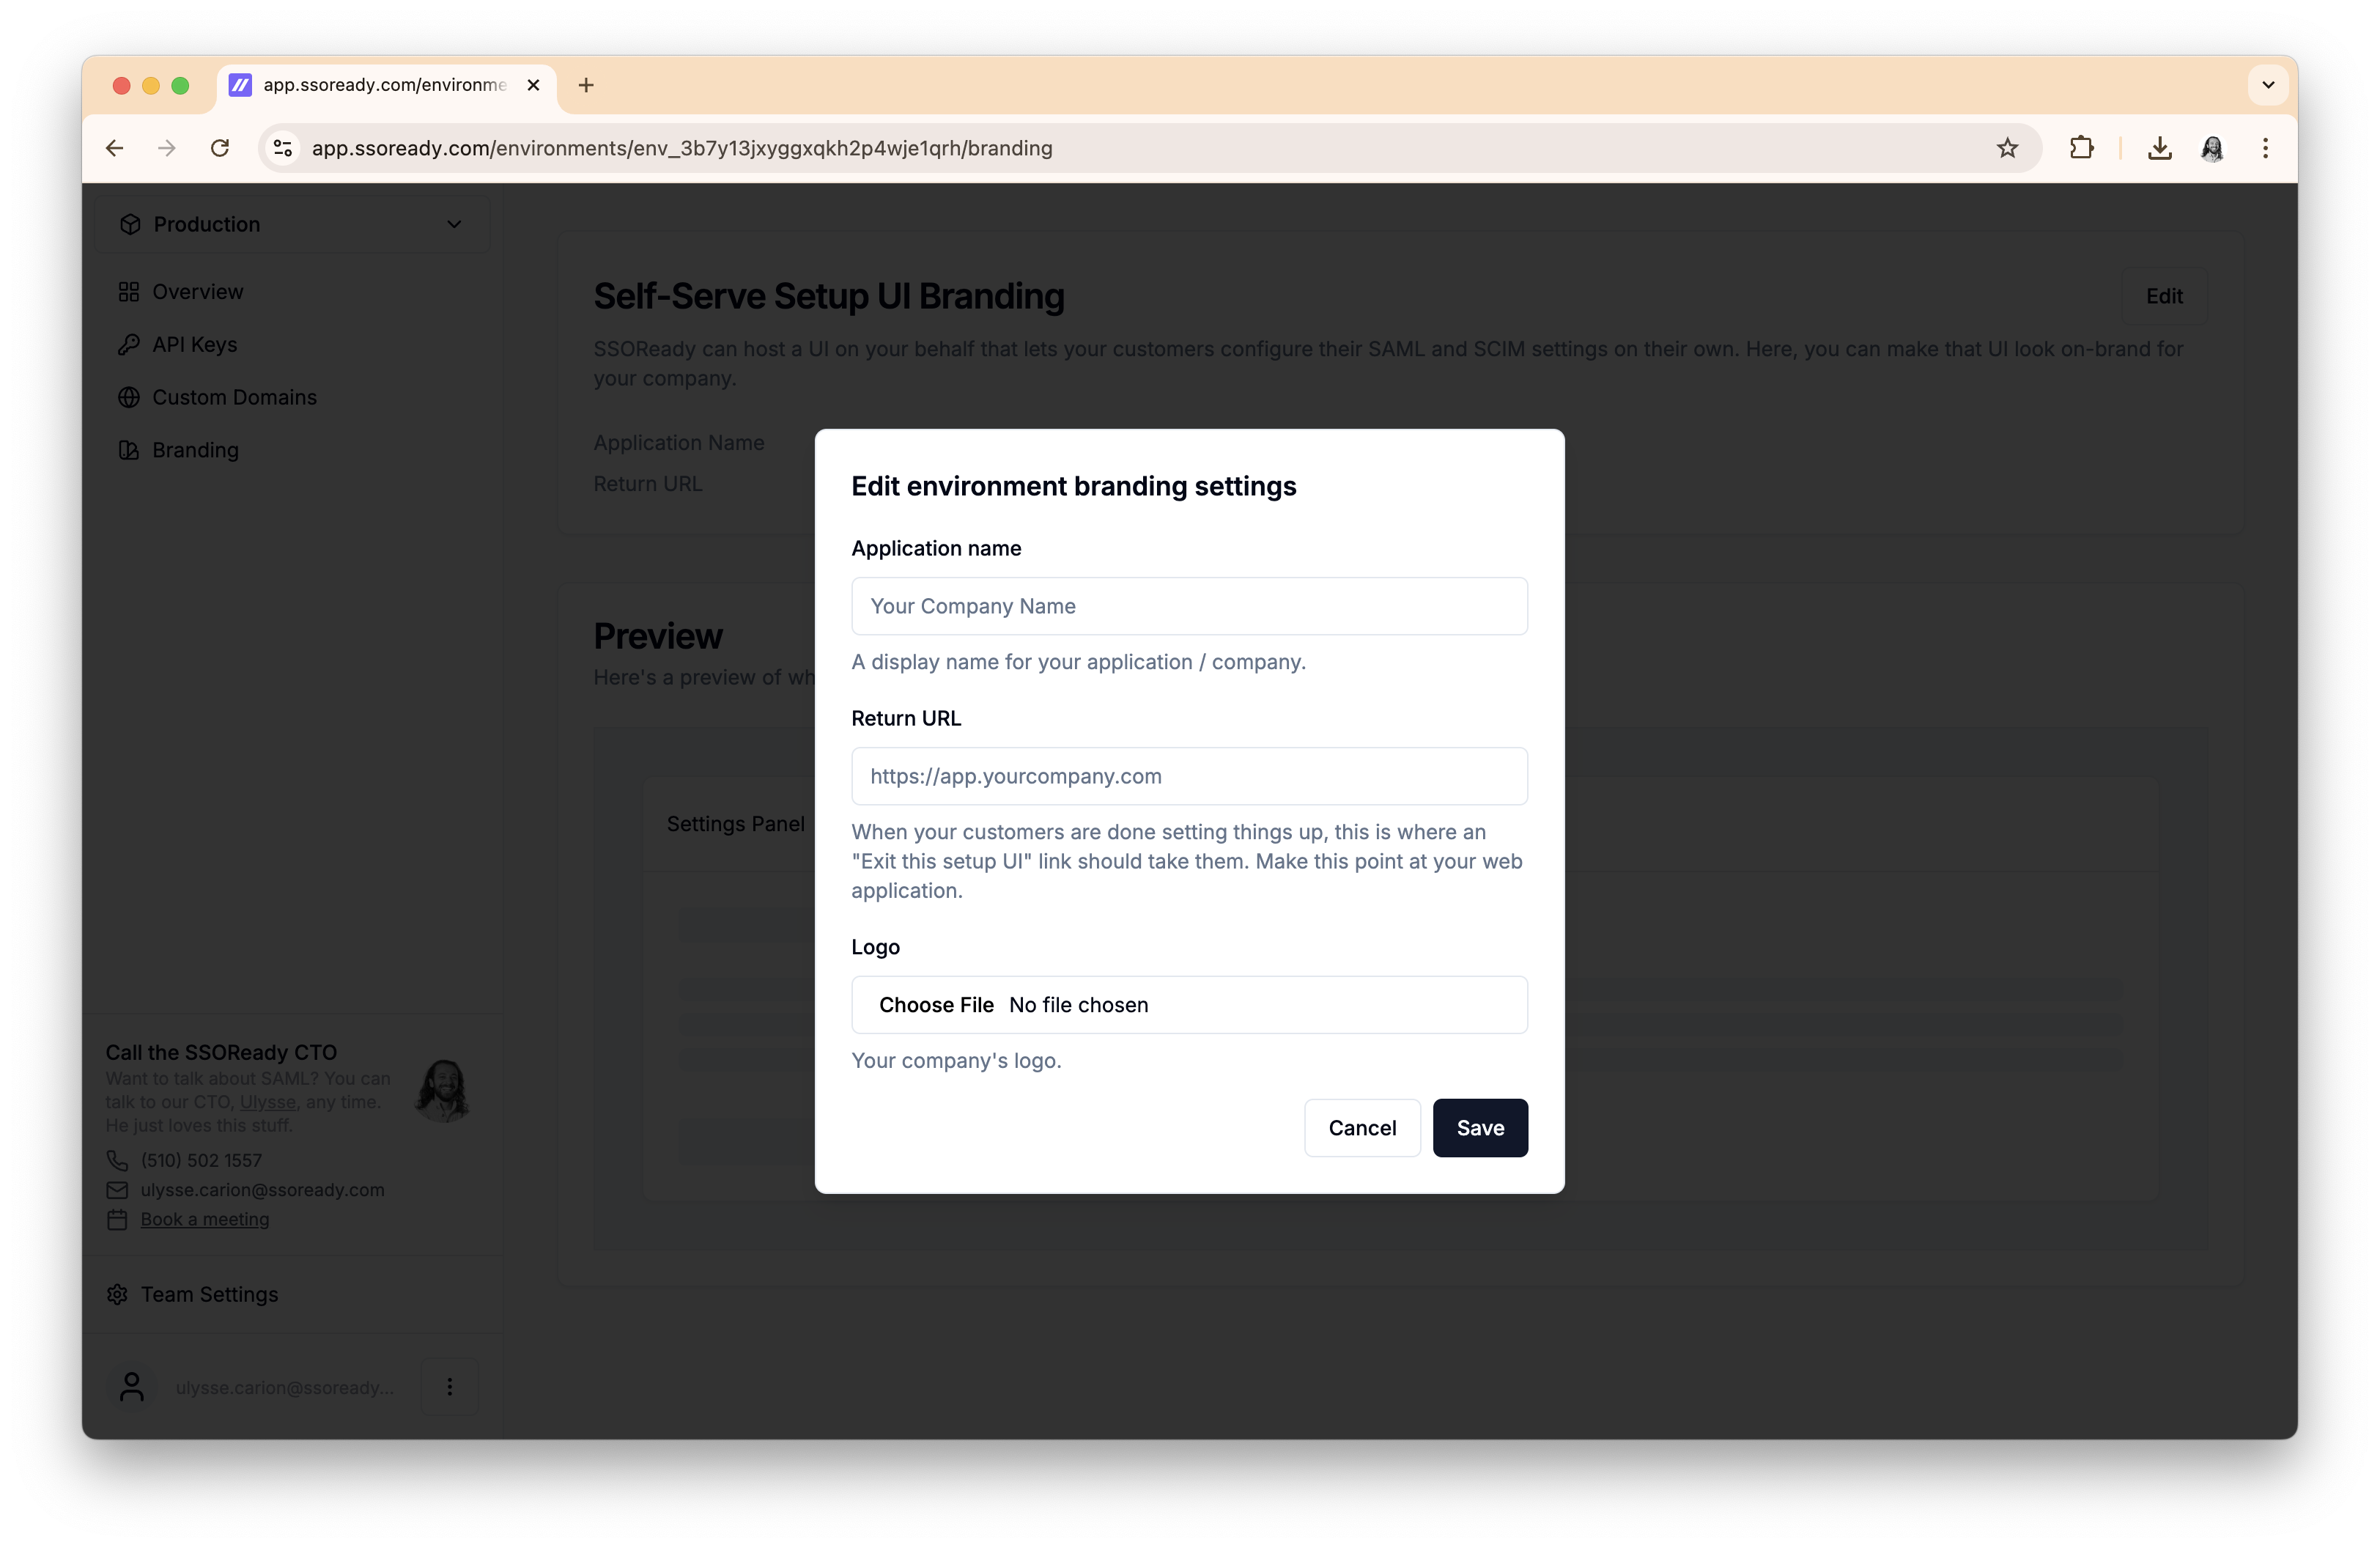
You can preview what your branding settings look like within the app, without having to send your customer a setup link.
By default, the self-serve setup experience runs on admin.ssoready.com. You
can customize what domain that runs on by going to your environment’s custom
domain settings.