SAML with Entra
Entra — formerly Azure Active Directory — ranks among the more common IDPs. It can appear complicated, but hopefully it feels a little bit easier with this guide.
Create an application in Entra
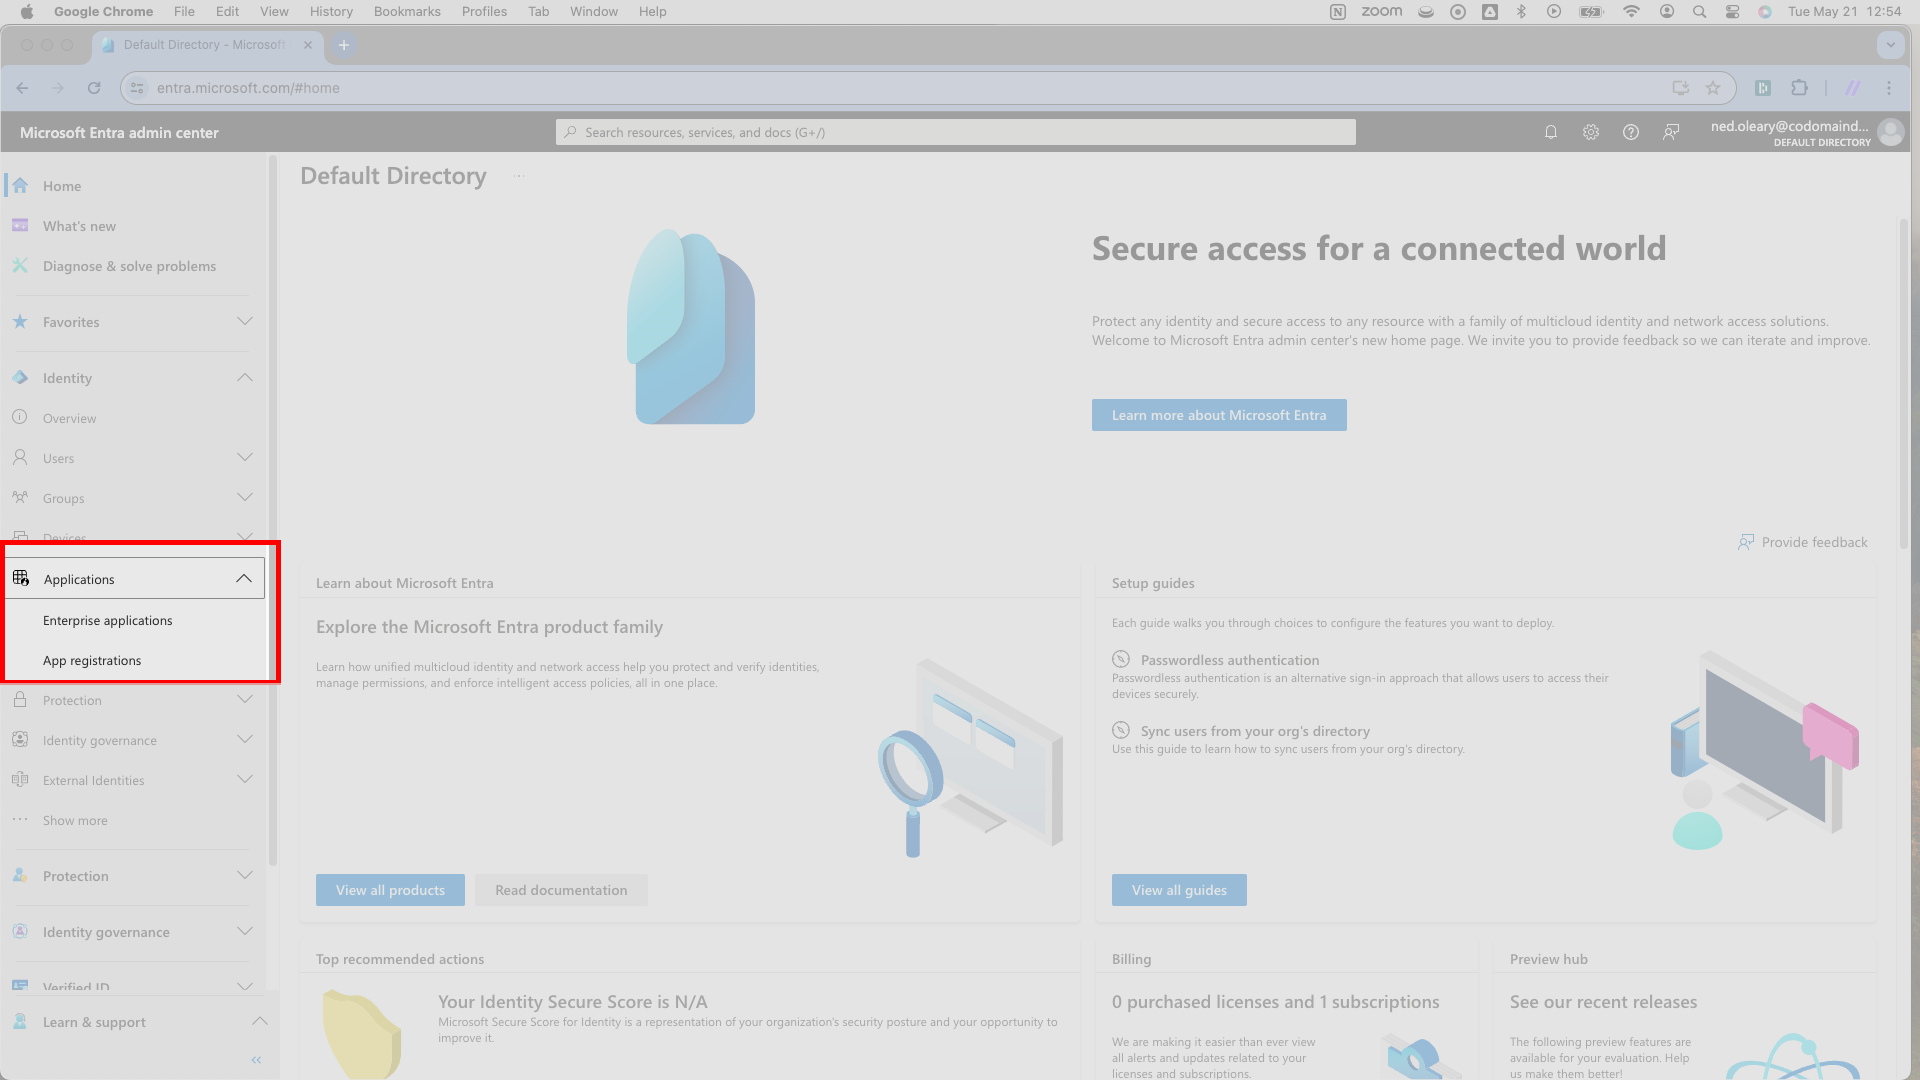
Entra needs to associate a SAML connection with an Application, so the first step will require you to create an application. From any page in Entra, you’ll find Applications > Enterprise applications in the left navigation bar. Click here to navigate to the next page.
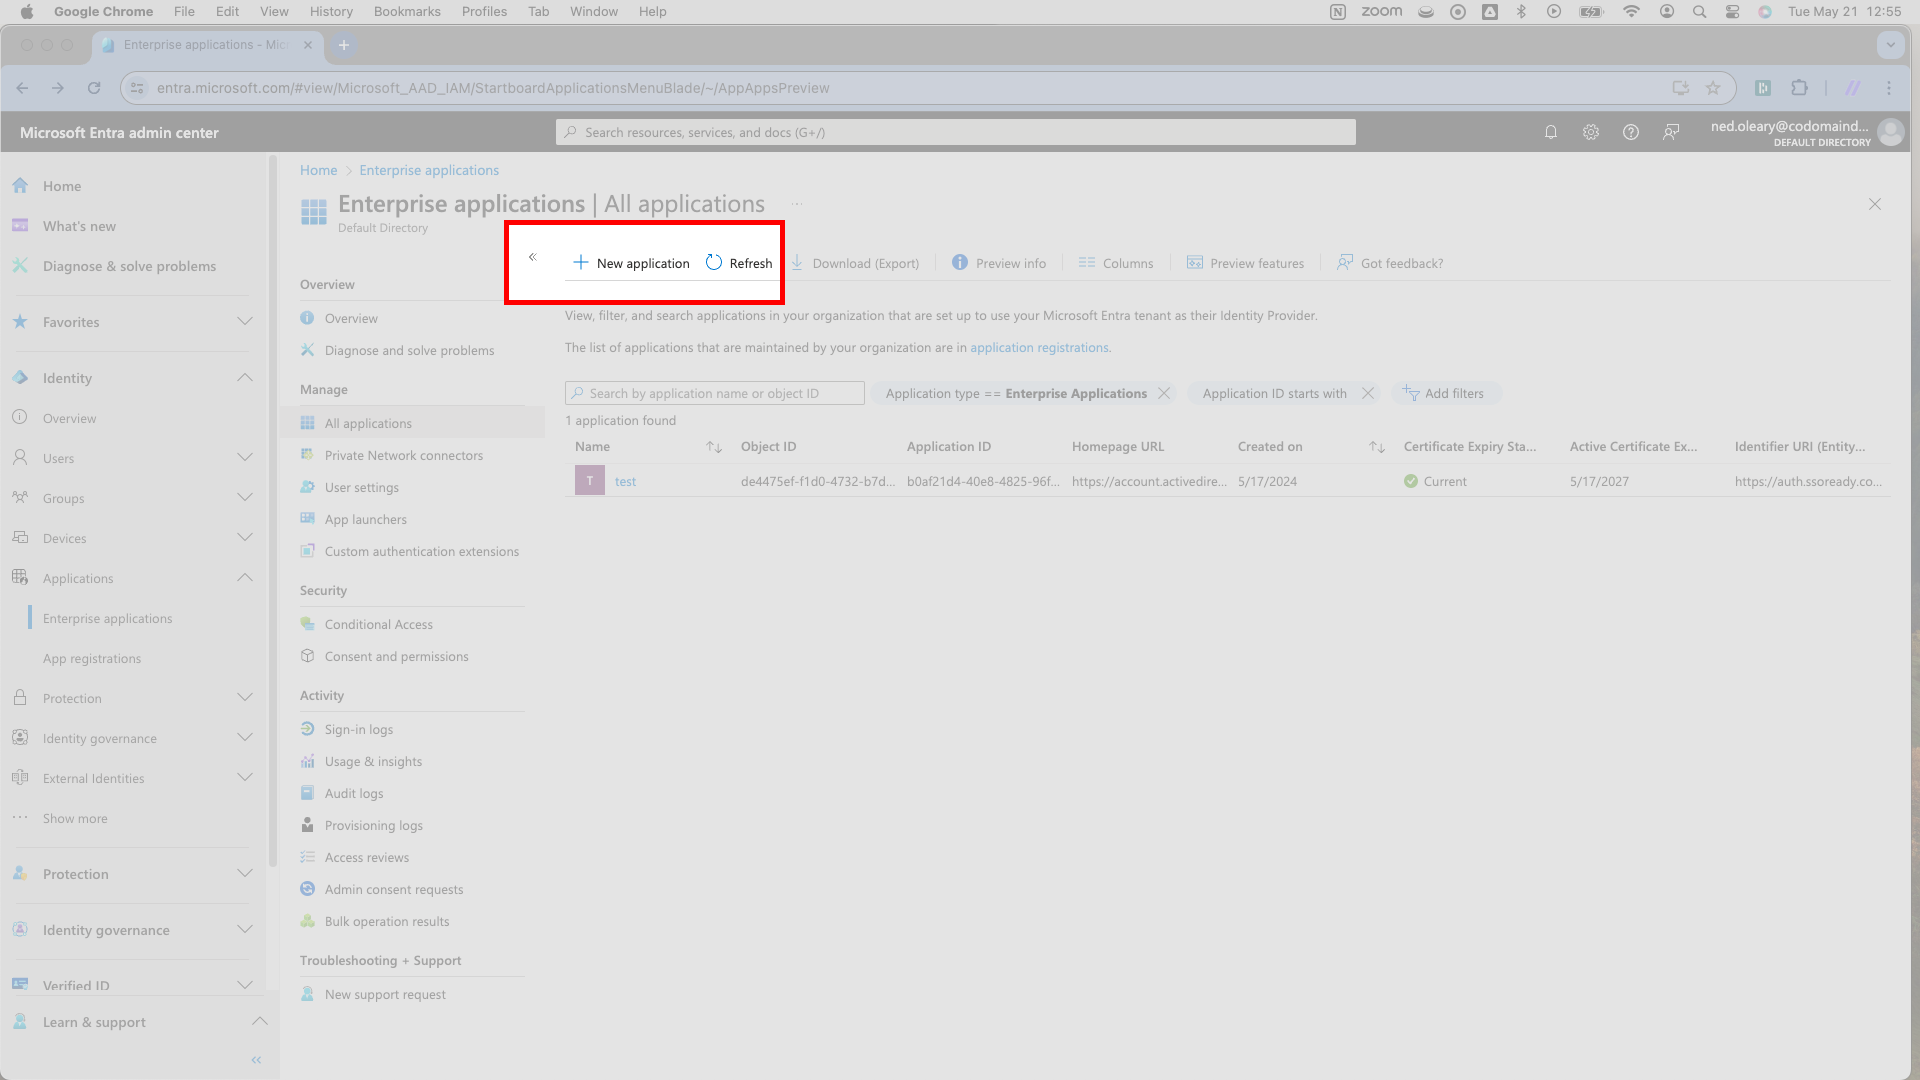
You’ll reach a page that says Enterprise applications in bold typeface. Press the New application button right under this header.
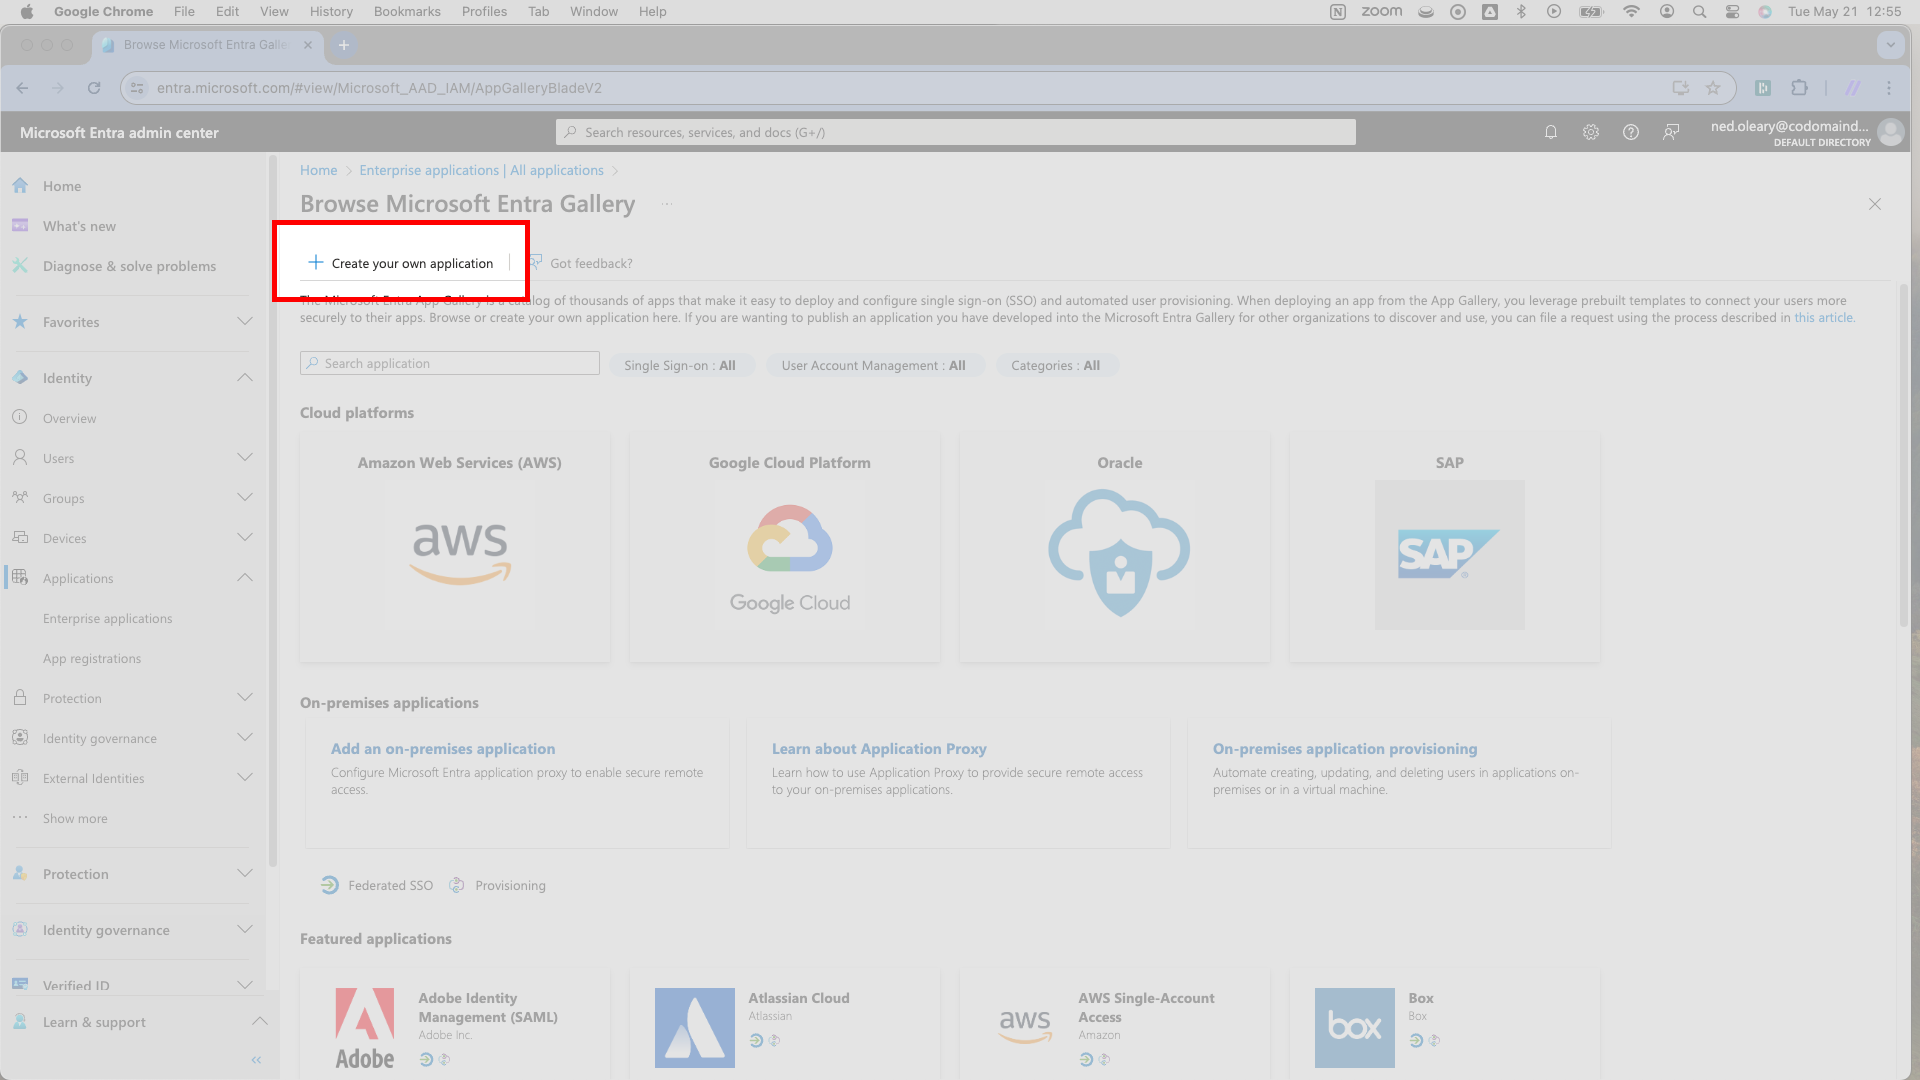
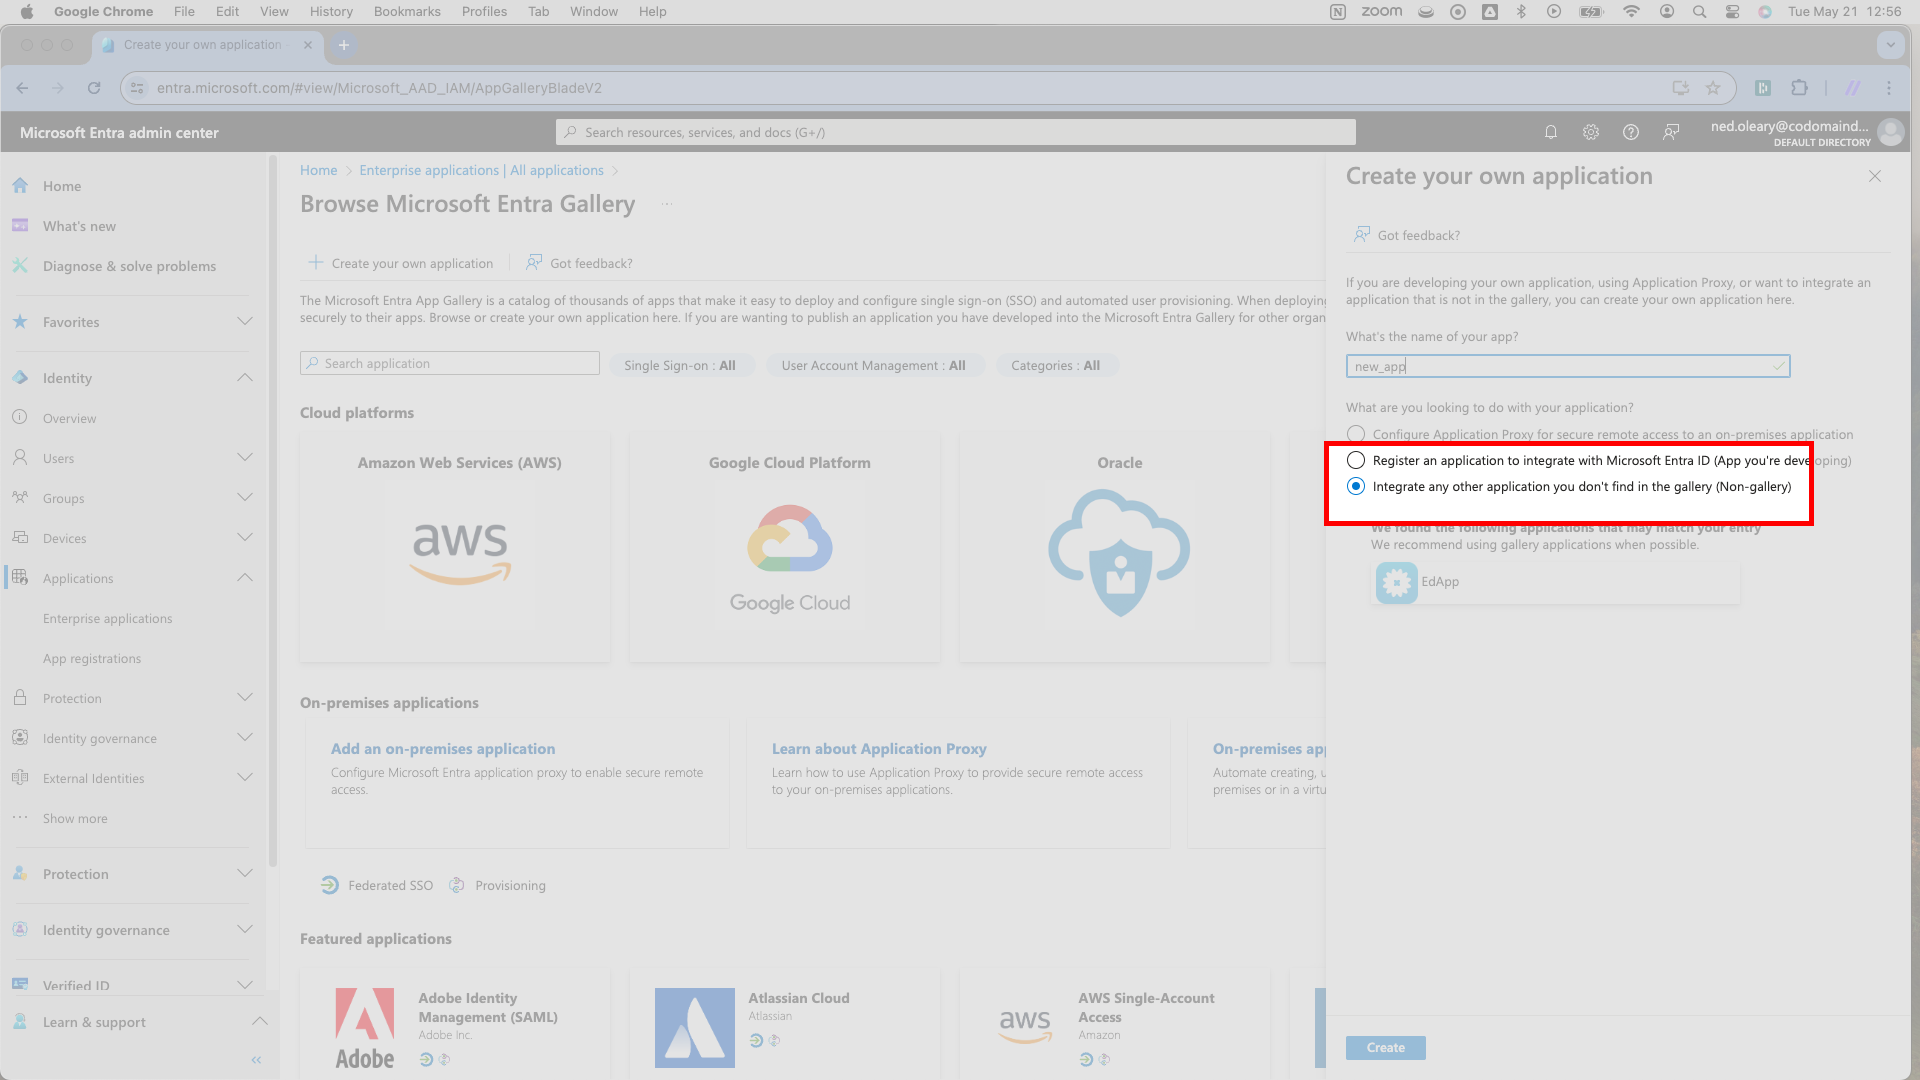
On the next page, there’s a header: Browse Microsoft Entra Gallery. You’ll also see a few prominent cards with major cloud providers. Ignore all this; SSOReady configurations won’t use the gallery. Simply click Create your own application, which triggers a slideover from the right.
Entra requires a display name for the application. You’ll want your product’s name to go here.
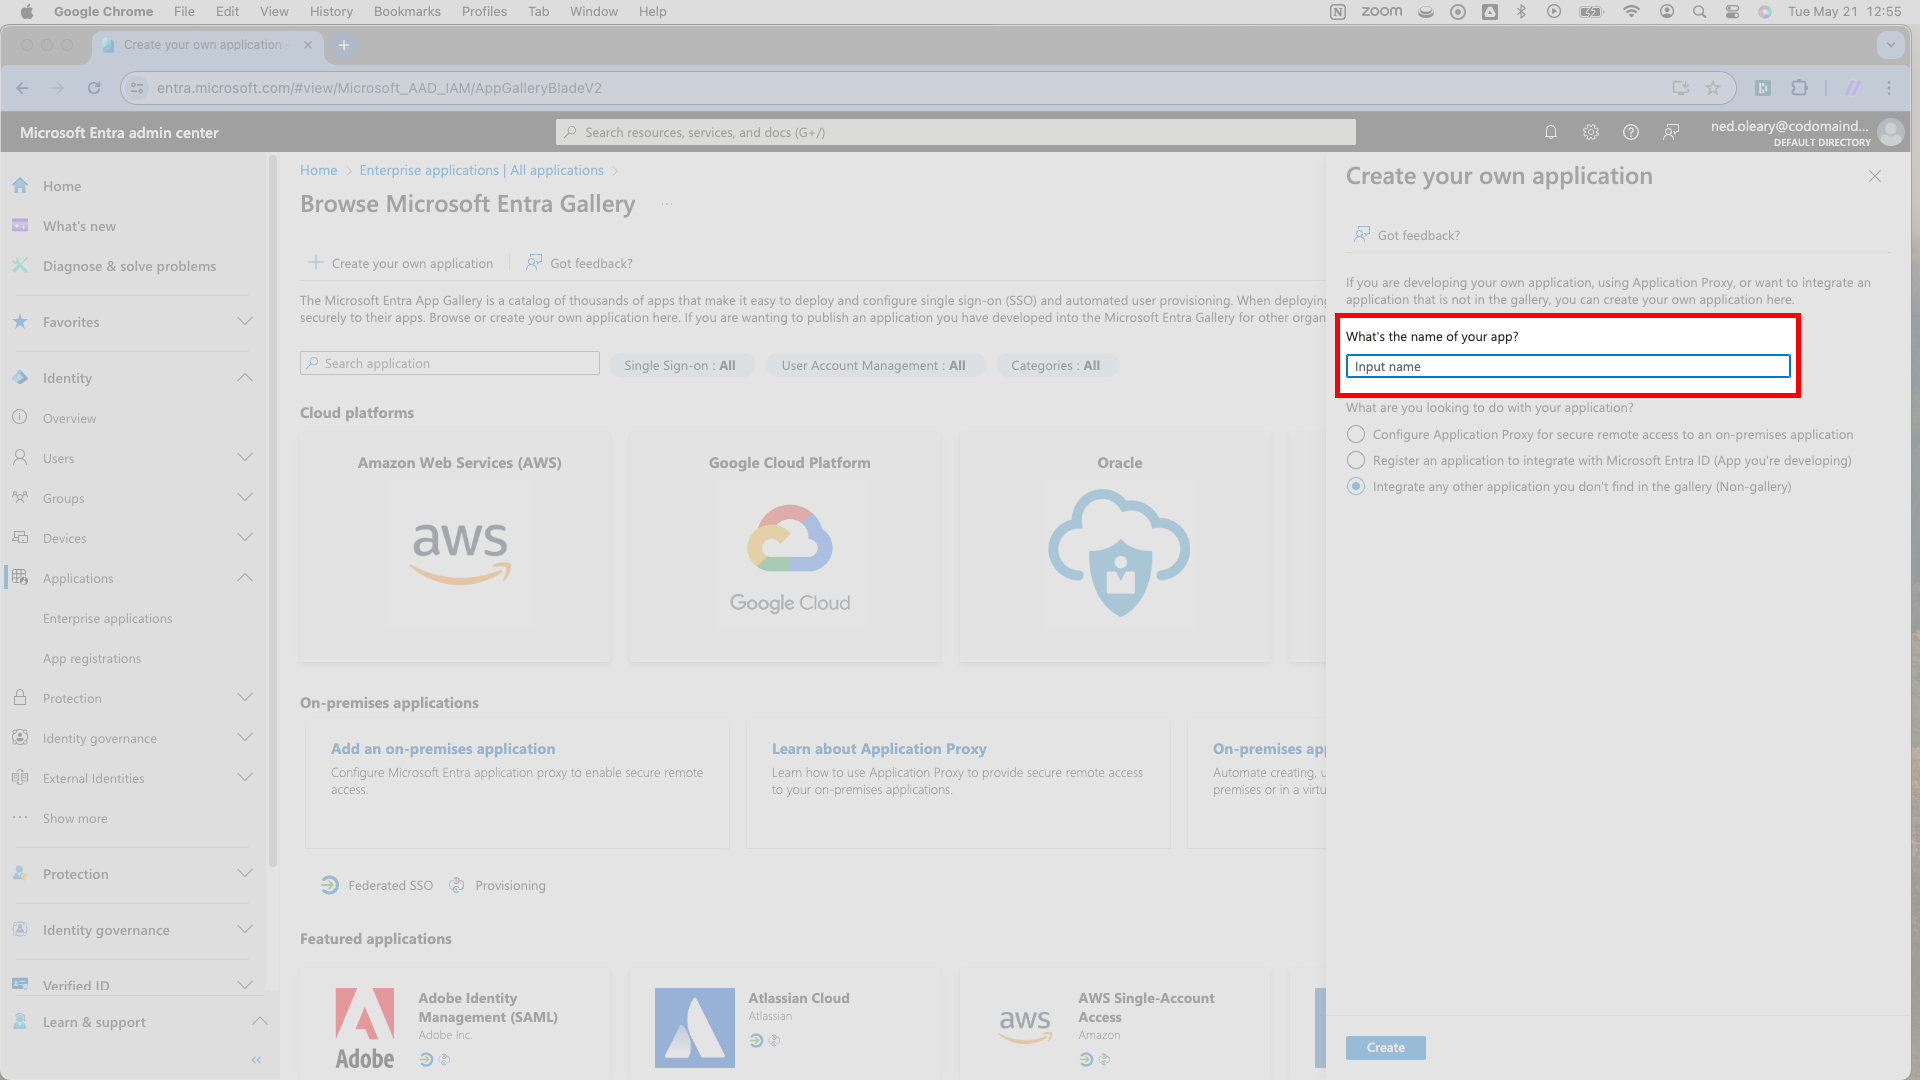
Under the display name, Entra offers three radio button options. Select the last one, which reads Integrate any other application you don’t find in the gallery (Non-gallery).
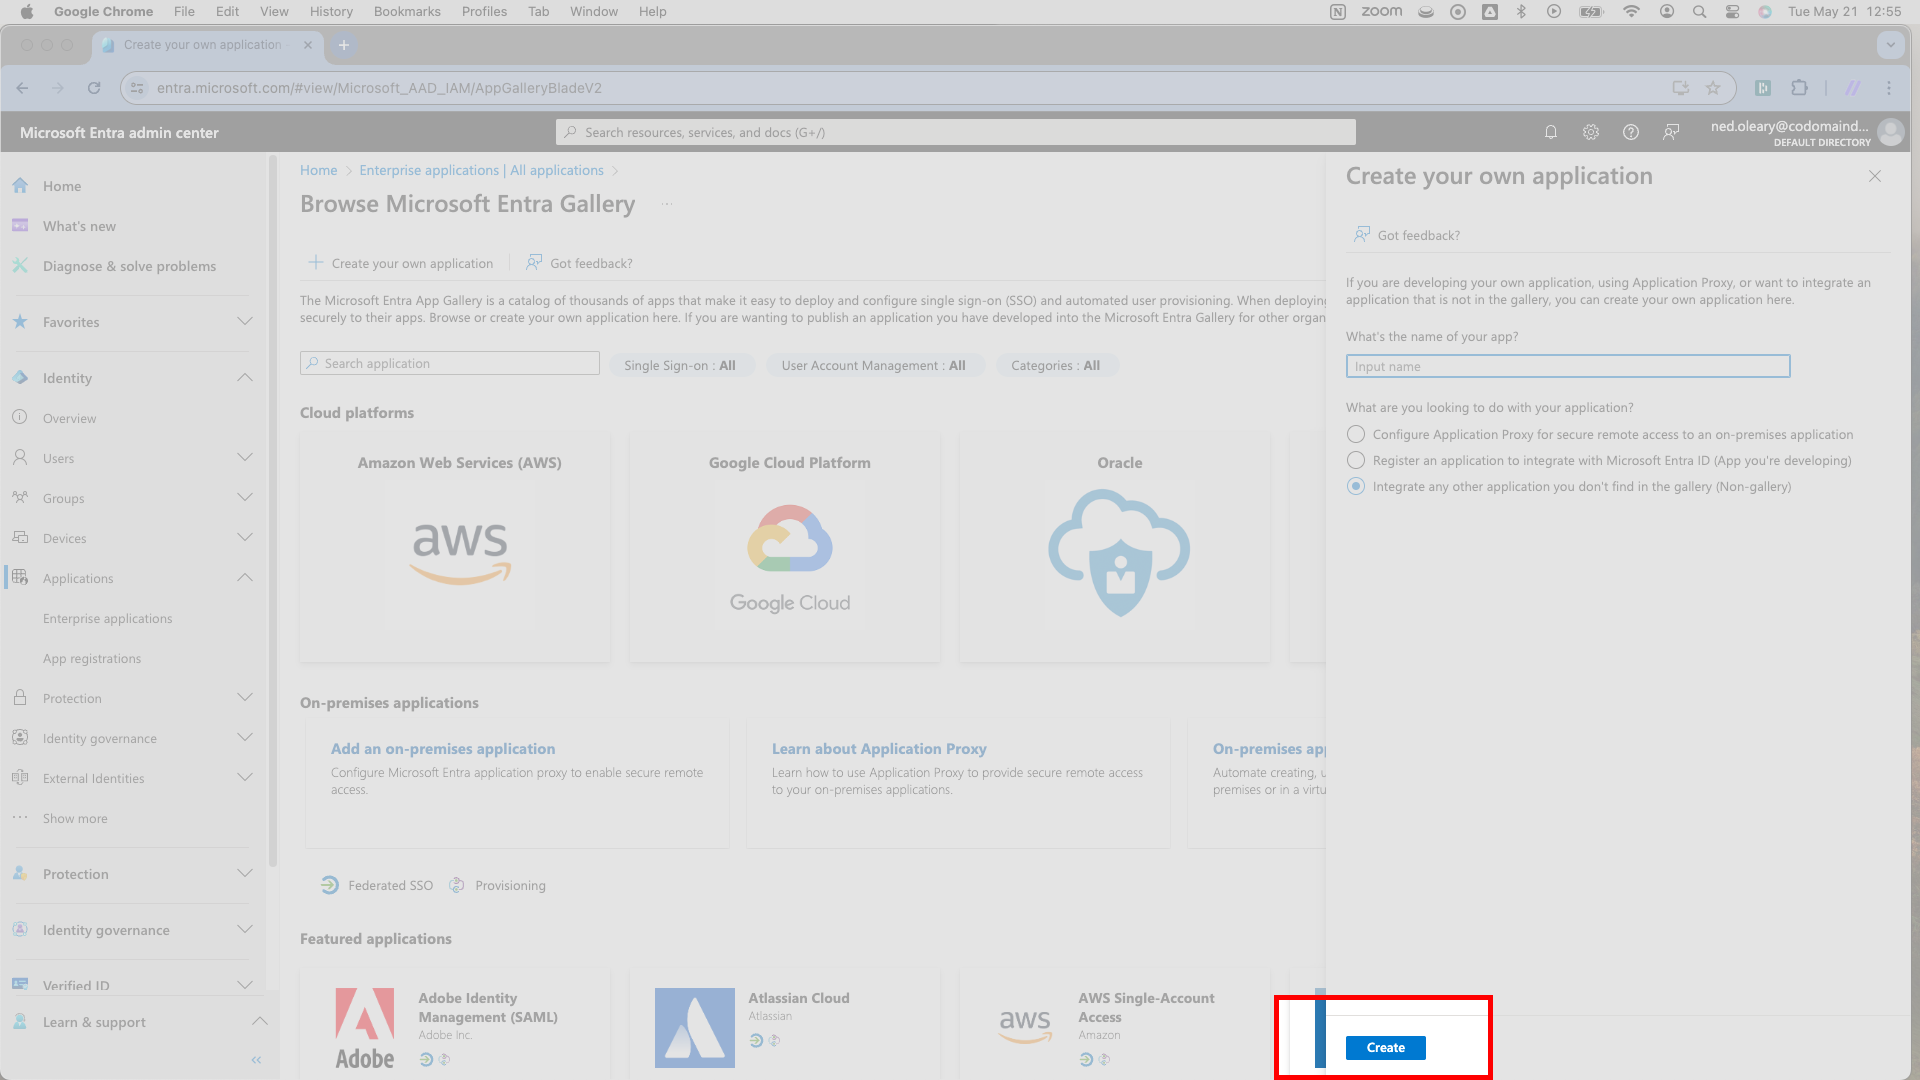
Then hit Create in the lower left of the slideover, and you’re free to configure our Application.
Entra may require a few seconds to create the Application. Once it has finished, you will land on a page detailing the application.
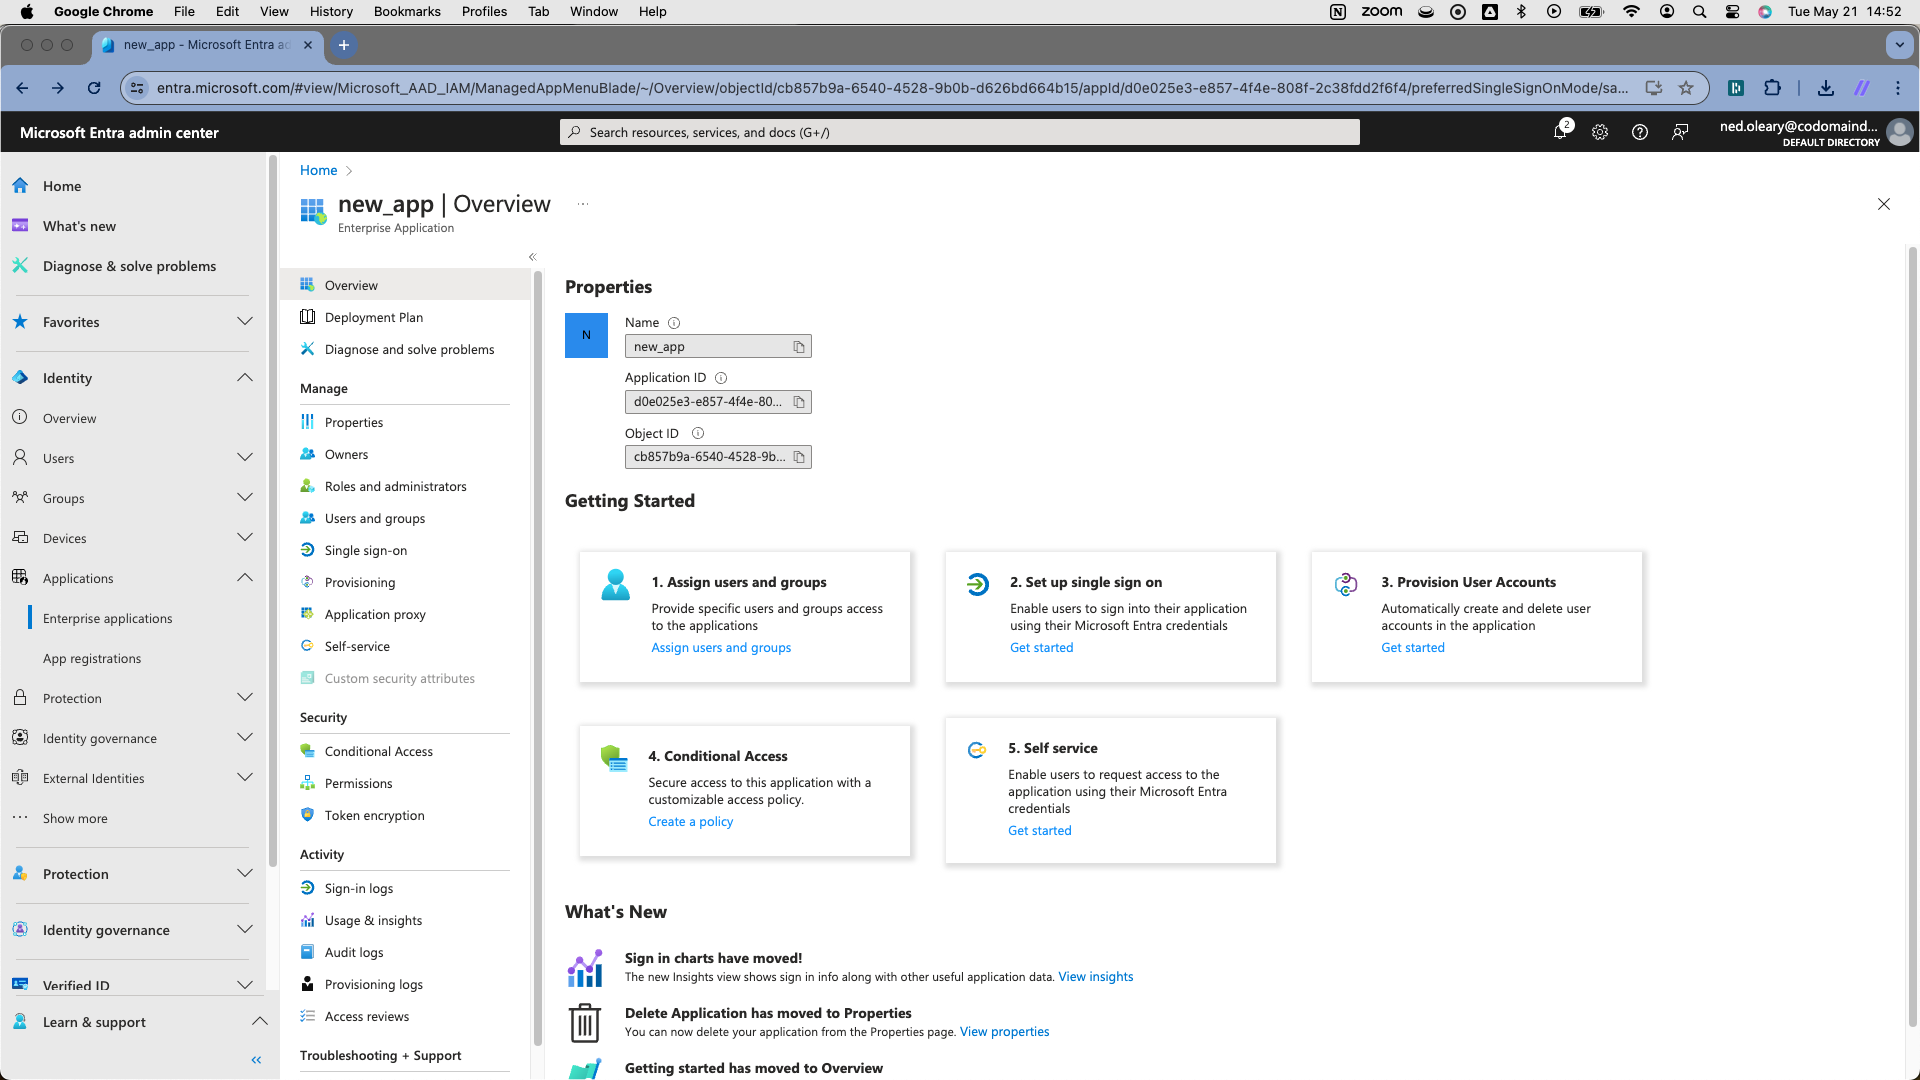
For now, skip assigning users to your Application, but an Entra admin will need to assign them before long.
Configure SAML Connection | Enter SSOReady details in Entra
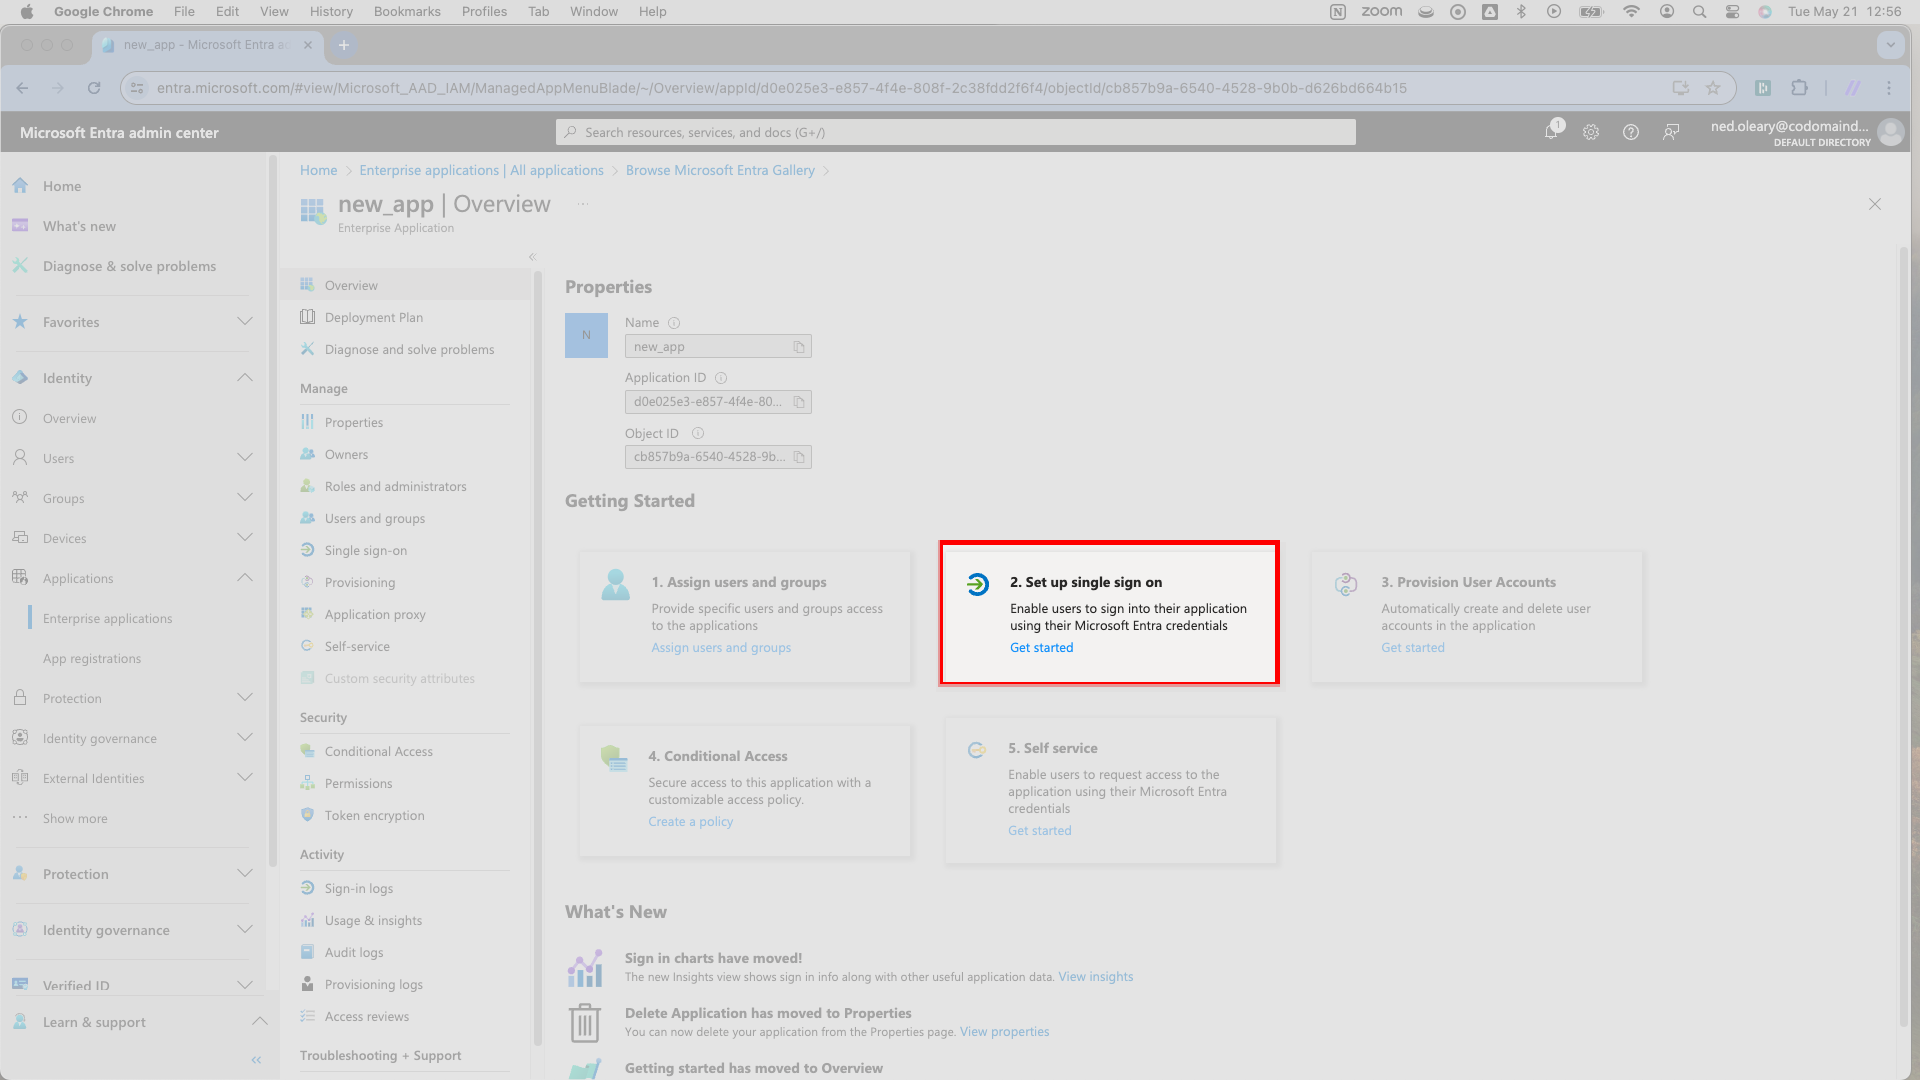
Now that you have a SAML Connection created in SSOReady and an Application in Entra, you can configure each of them to communicate with the other. Start by entering details about the SSOReady SAML Connection into the Entra Application. Select the Set up single sign on card.
Entra will then present a few options. Select the SAML card marked with a puzzle piece icon.
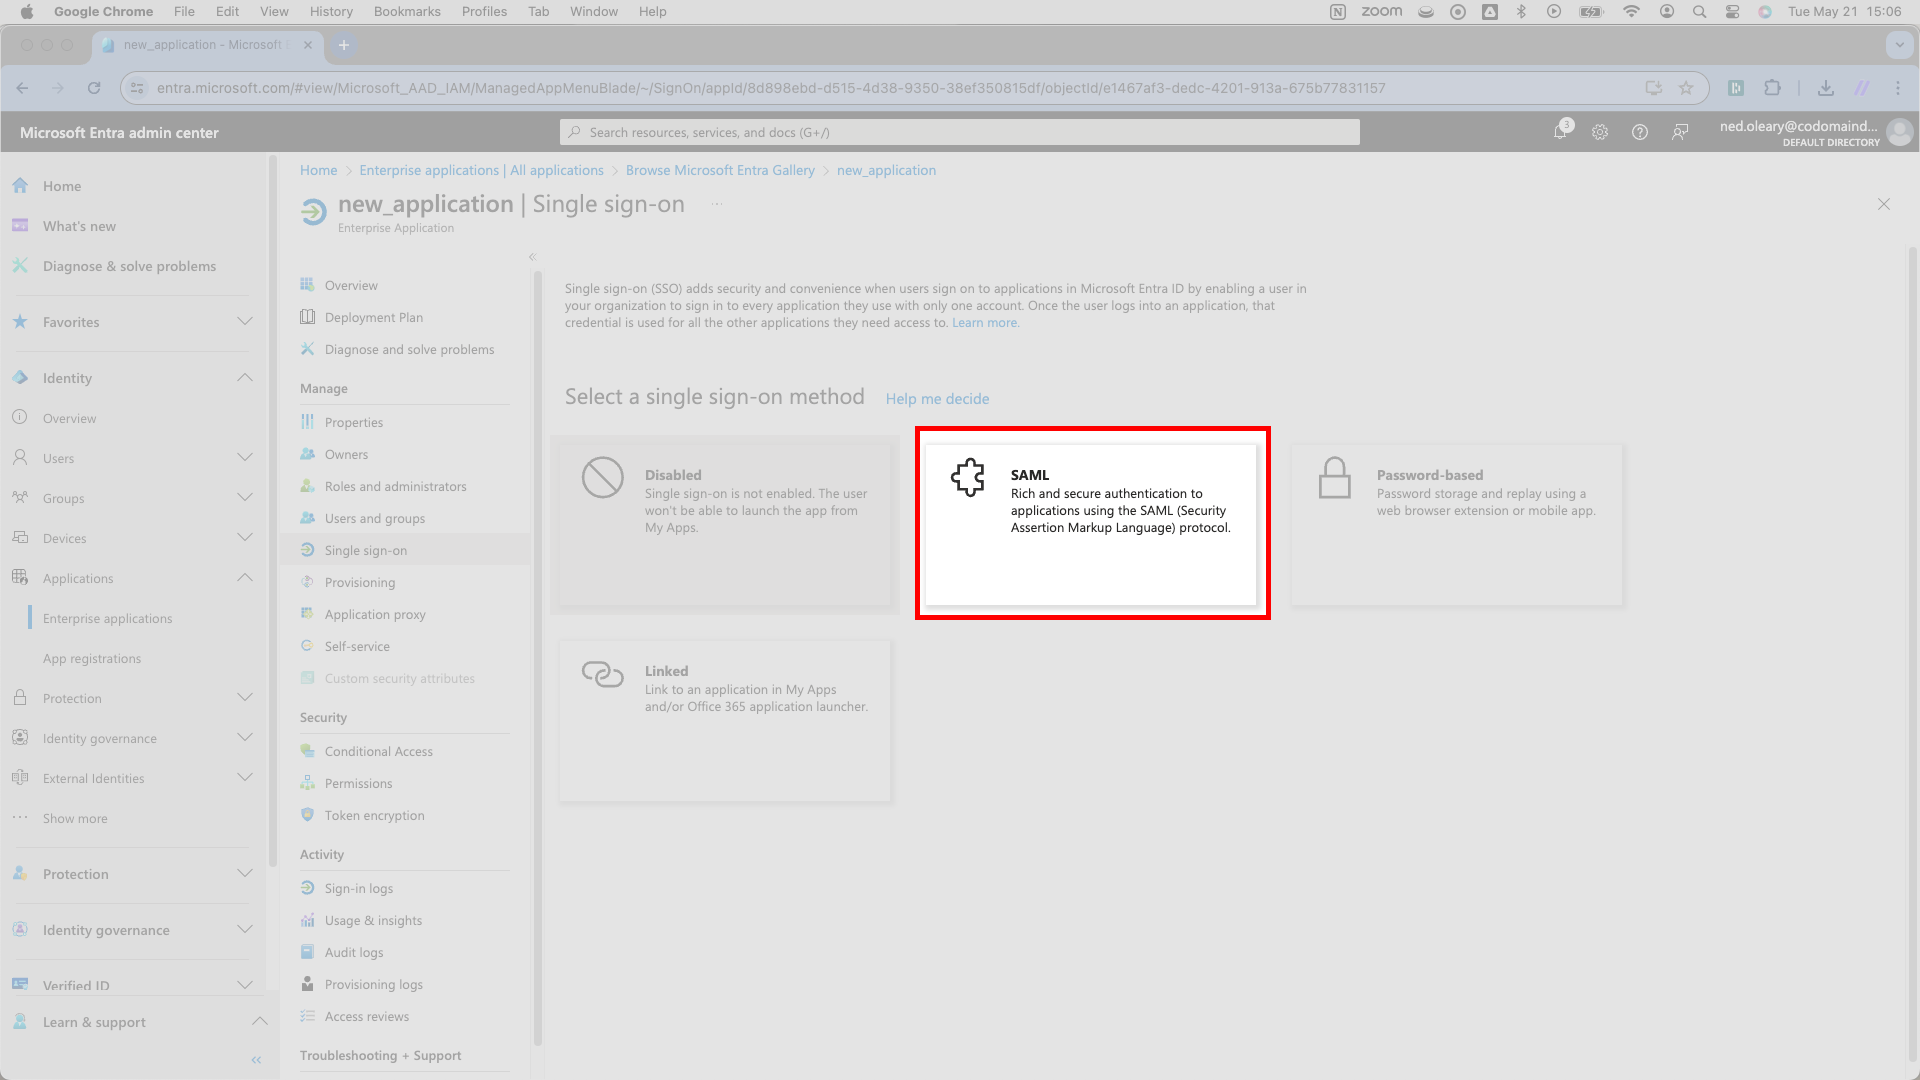
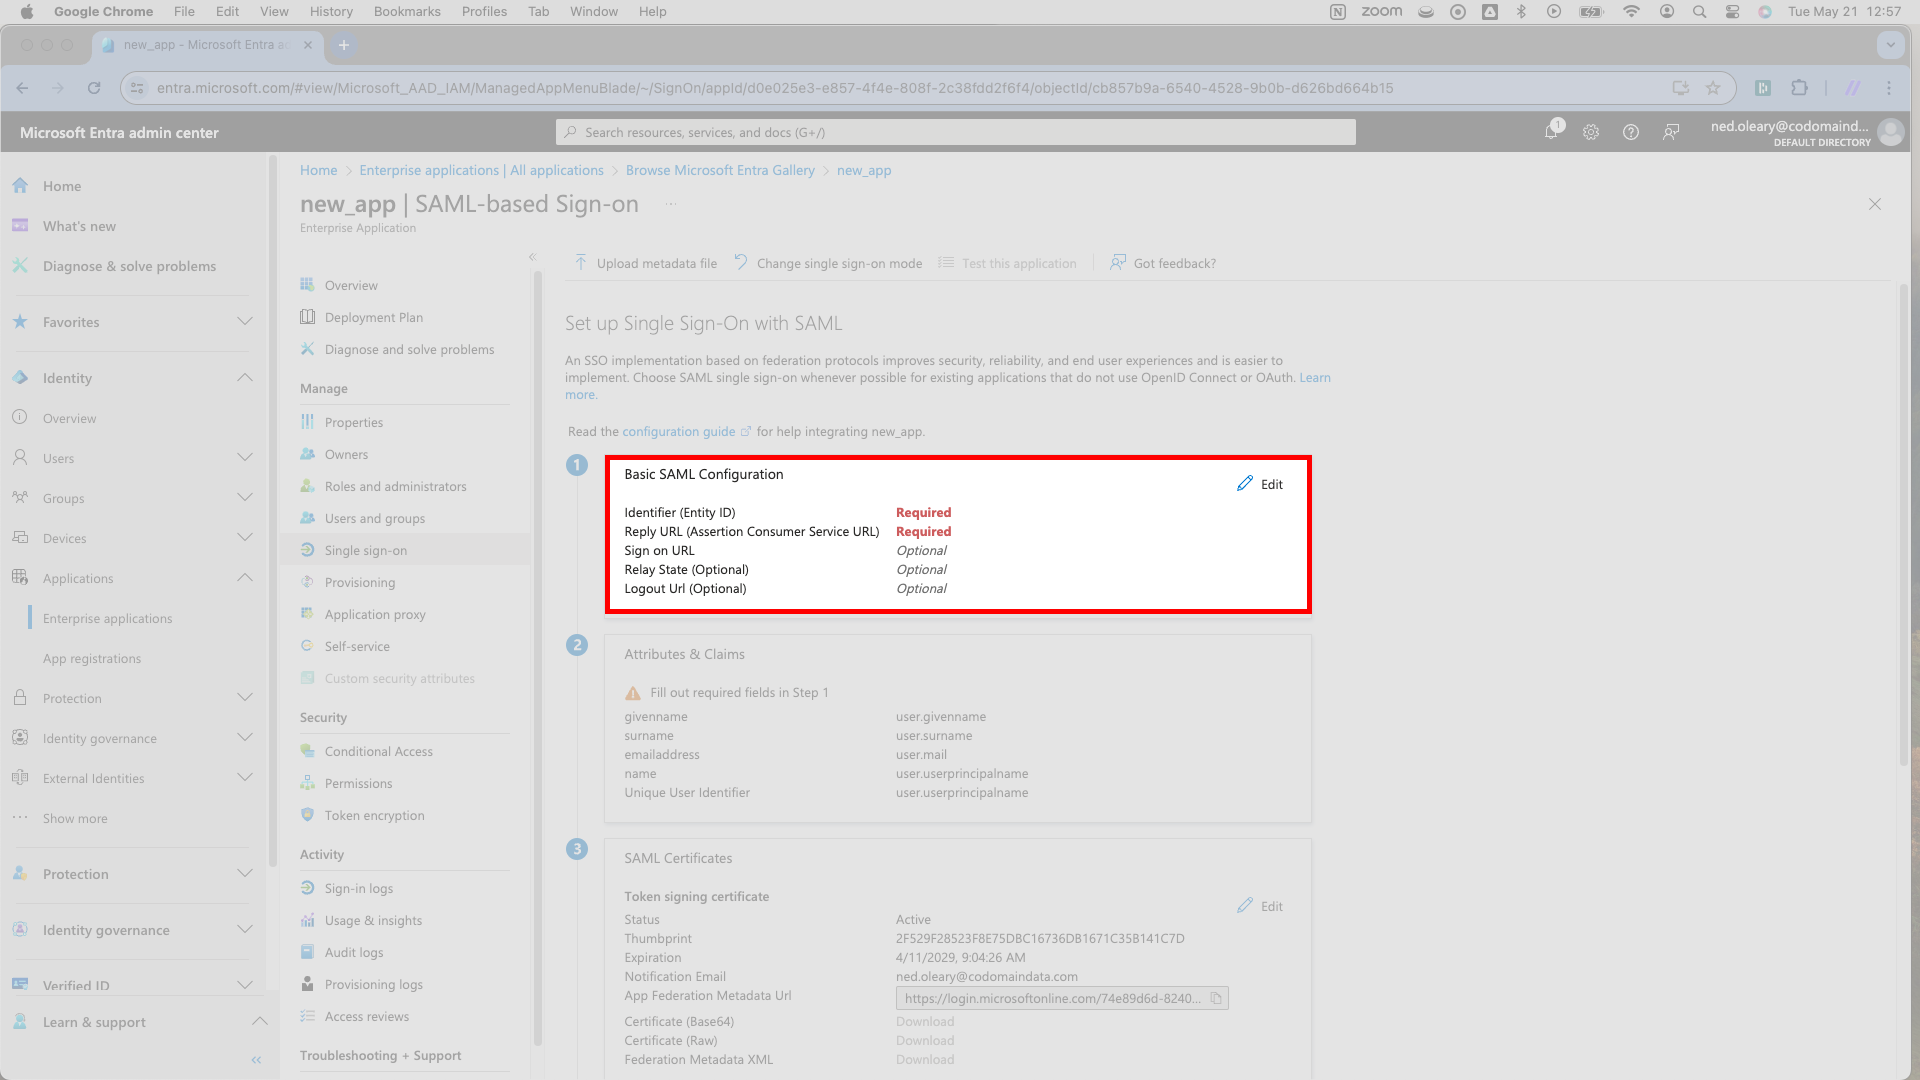
Entra will route you to its SAML-based Sign-on configuration page, where you’ll direct your attention first to the Basic SAML Configuration card. It has two required values. SSOReady supplies both.
Click the Edit button in the top right corner of the Basic SAML Configuration card; you’ll see a slideover triggered on the right.
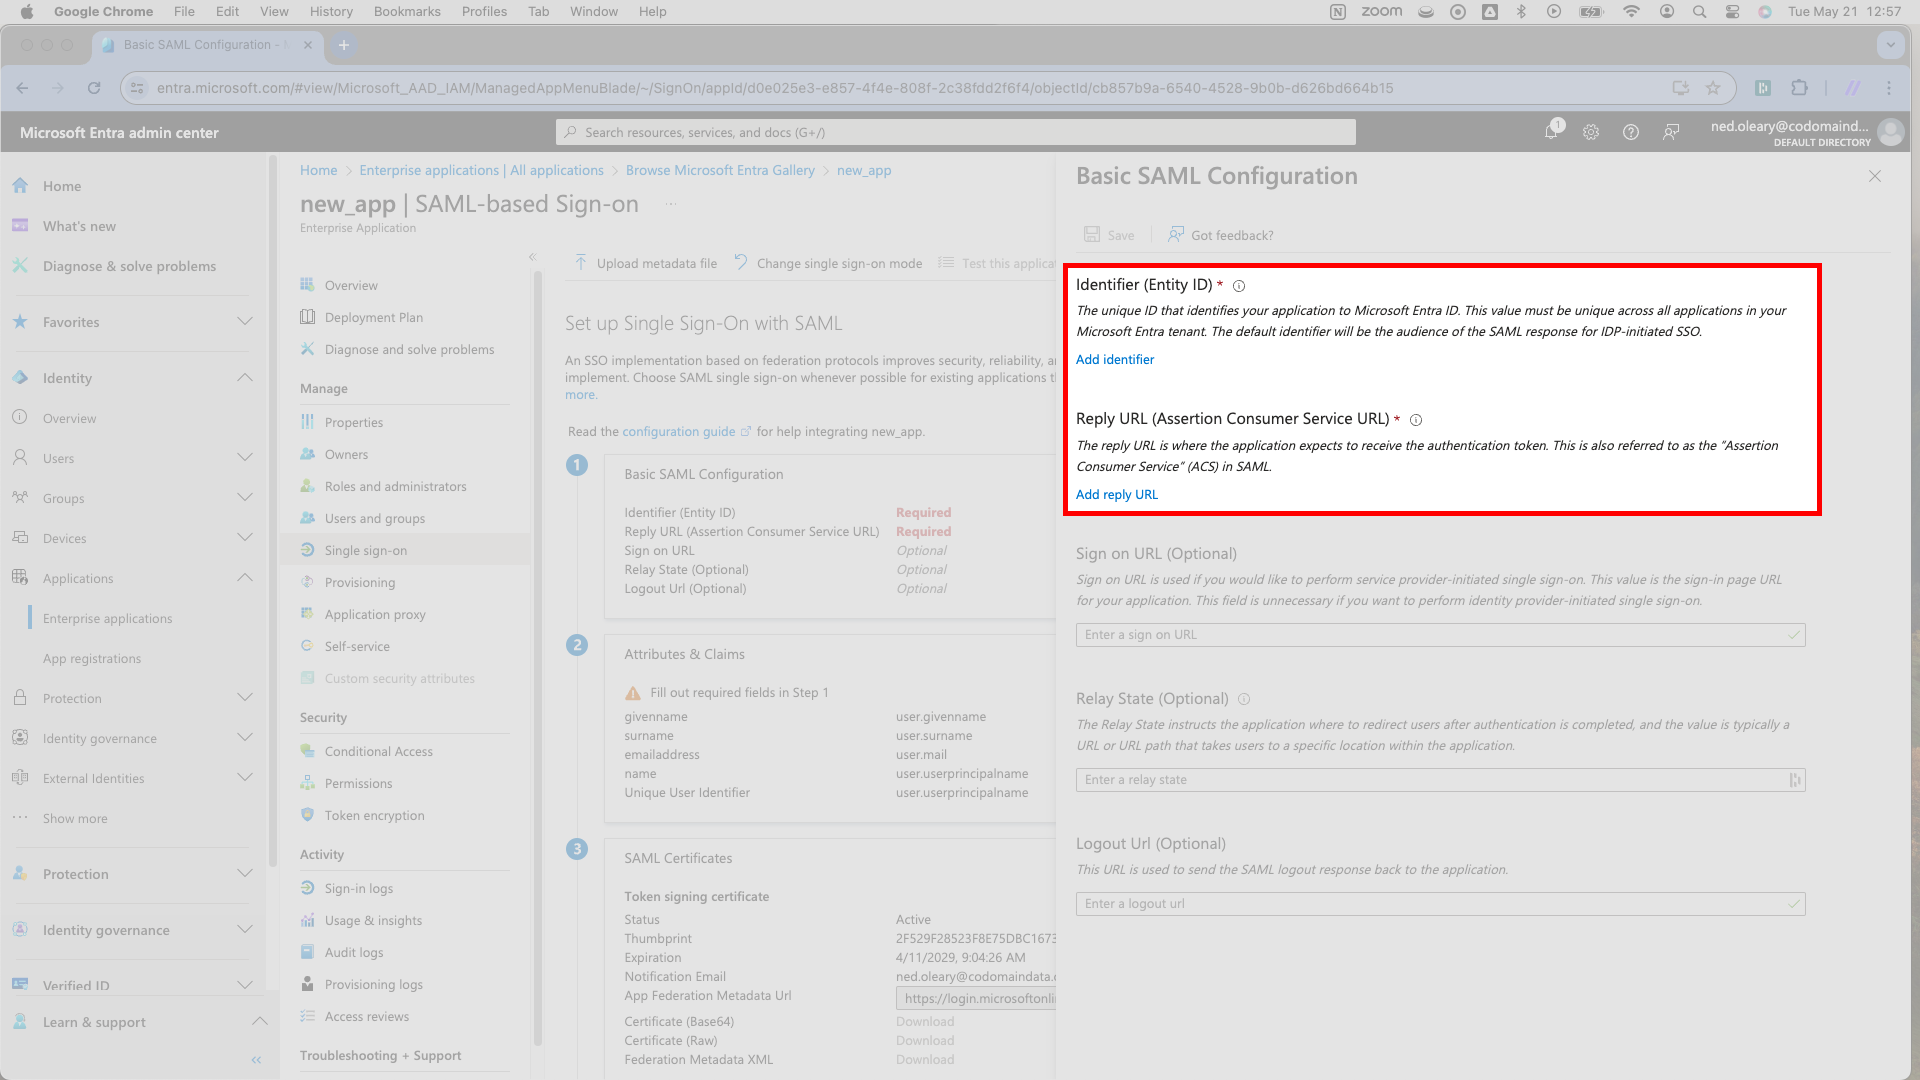
In the slideover, Entra requires two values: an Identifier (Entity ID) and a Reply URL (Assertion Consumer Service URL).
-
Start with the Identifier (Entity ID) field. SSOReady calls this the SP Entity ID, which you can find by navigating to your SAML Connection in the SSOReady app. Paste the URL from SSOReady into Entra.
-
Next is the Reply URL (Assertion Consumer Service URL) field. SSOReady calls this the Assertion Consumer Service (ACS) URL. It should look just like the SP Entity ID field, only it ends with
/acs. Paste the URL from SSOReady into Entra.
Make sure to hit Save toward the top of the page.

Next, you’ll enter details about Entra into SSOReady.

Configure SAML Connection | Enter Entra details in SSOReady
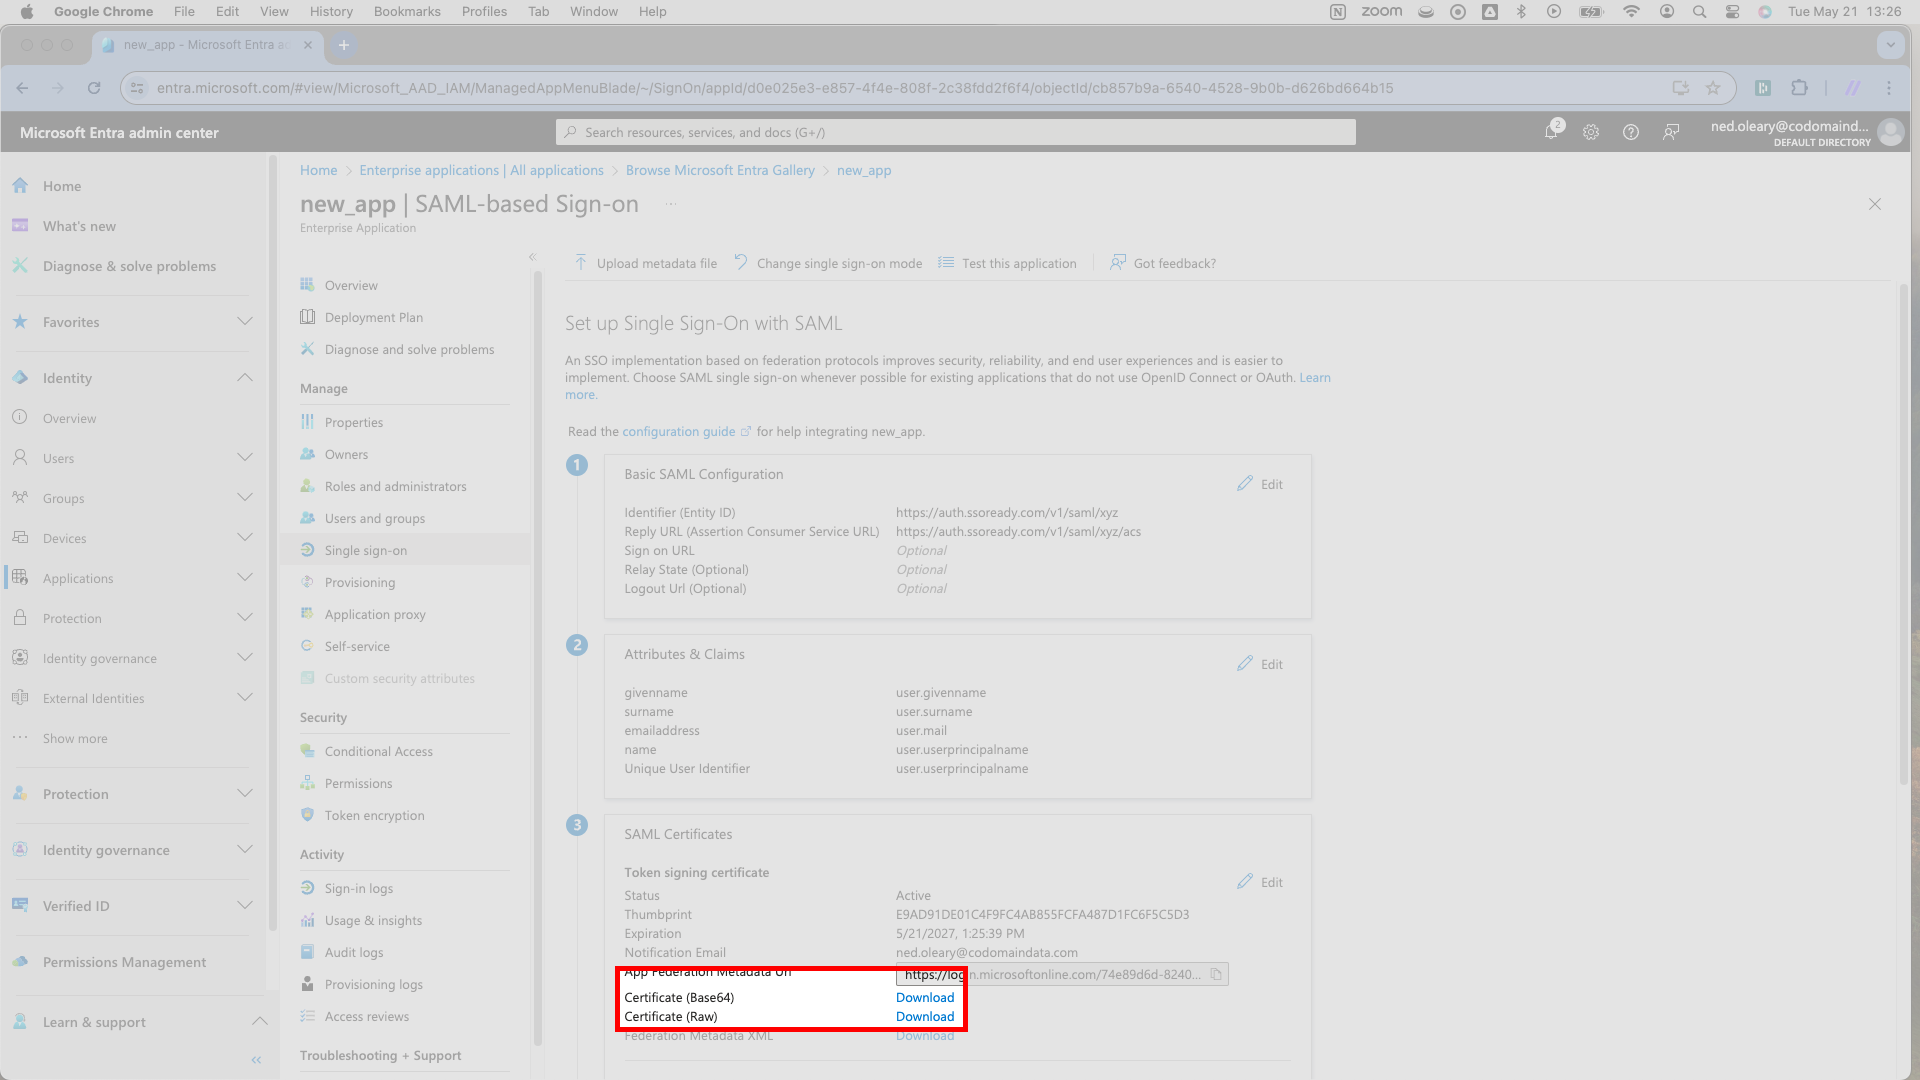
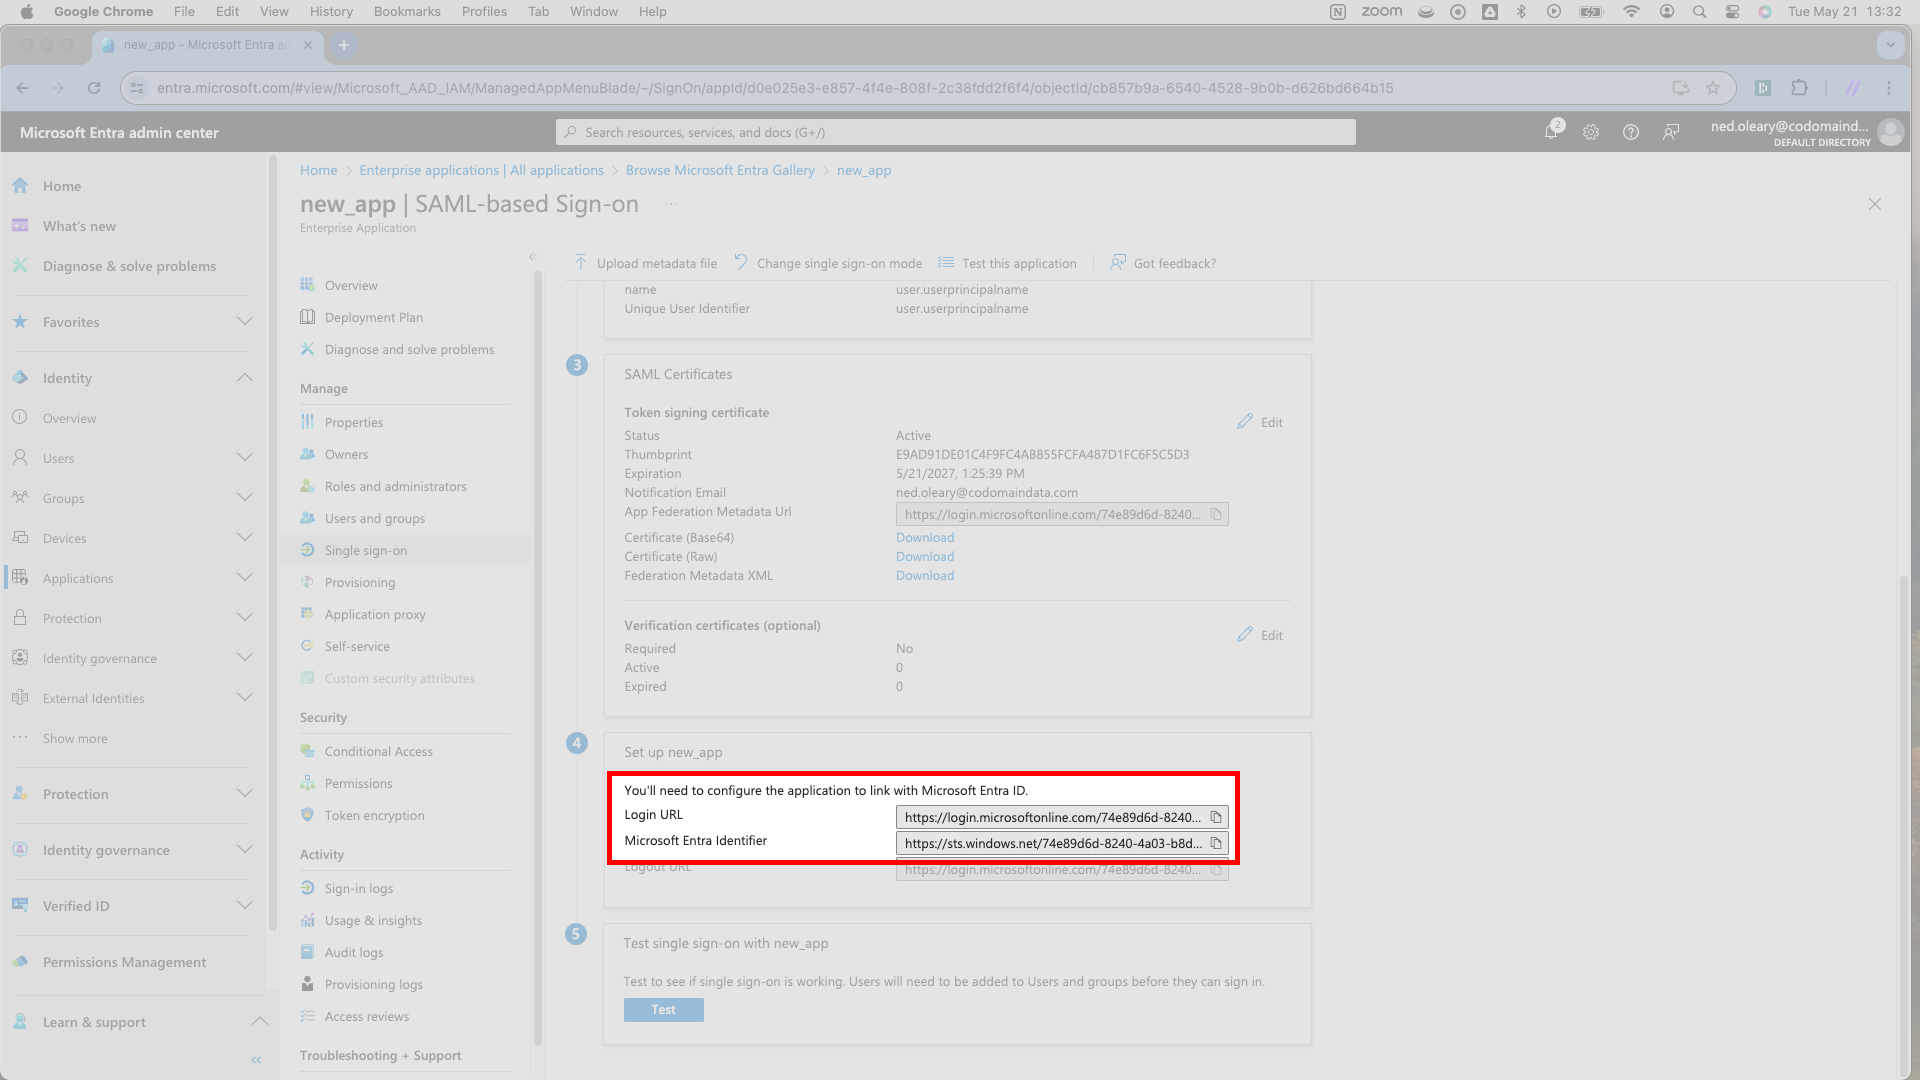
Having set up Entra with information about SSOReady, you’ll then supply SSOReady with information about the Entra Application. SSOReady needs three pieces of information from the Entra Application: an IDP Entity ID, a Redirect URL, and a Certificate.
Start with the last of these, the Certificate. In Entra, you’ll find this on the third card, closer to the bottom of the page. Next to the Certificate (Base64) heading, Entra shows a blue download link. Click this link. It will download a file named for your application. For example, if you’ve named the application new_application, Entra will share a new_application.cer file. Upload this file to SSOReady on the page detailing the SAML Connection.
For the final two pieces of information, scroll down to the fourth card. Copy the Microsoft Entra Identifier field from Entra and paste it into SSOReady’s IDP Entity ID field. Then copy the Login URL field from Entra and paste it into SSOReady’s Redirect URL field.
Once you’ve entered that data in SSOReady, you’re finished with Entra configuration!